Introduction
Winter brings significant risks to your home’s plumbing system. Frozen pipes can burst, causing thousands of dollars in water damage. According to insurance claims data, water damage from frozen pipes accounts for a substantial portion of winter-related home damage losses. The good news? Winterizing your pipes is straightforward, affordable, and highly effective at preventing costly disasters.
This comprehensive guide walks you through every aspect of protecting your pipes from freezing temperatures and the water damage that follows.
Key Takeaway: Pipe winterization is one of the highest-ROI home maintenance tasks you can perform—a $200-$500 investment in foam insulation and heat tape can prevent $5,000-$25,000 in burst pipe water damage.
Understanding the Frozen Pipe Problem
Why Pipes Freeze
When water in your pipes is exposed to freezing temperatures for extended periods, it expands. This expansion creates pressure within the pipe, eventually causing cracks or ruptures. Even small leaks from frozen pipes can damage walls, ceilings, floors, and personal belongings.
Pipes are most vulnerable in:
- Exterior walls with poor insulation
- Crawl spaces and attics
- Garages and basements near doors
- Areas exposed to cold air drafts
- Outdoor faucets and irrigation systems
The Cost of Inaction
A single burst pipe can leak 250 gallons of water per day. This translates to potential water damage exceeding $10,000. Prevention costs just a fraction of this amount, making winterization one of the smartest investments homeowners can make.
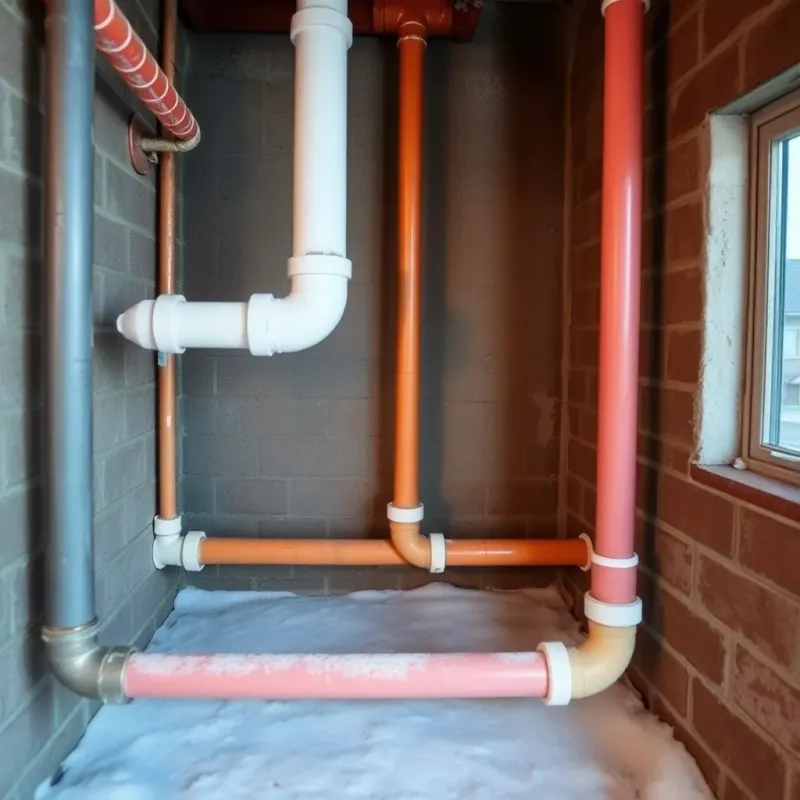
Identifying Vulnerable Pipe Locations
Before winterizing, walk through your home and identify at-risk pipes:
Check these areas first:
- Exterior walls on the north side of your home
- Pipes near windows and doors
- Pipes in uninsulated or poorly insulated attics
- Pipes in crawl spaces and basements
- Outdoor faucets and hose bibs
- Pool supply lines and irrigation systems

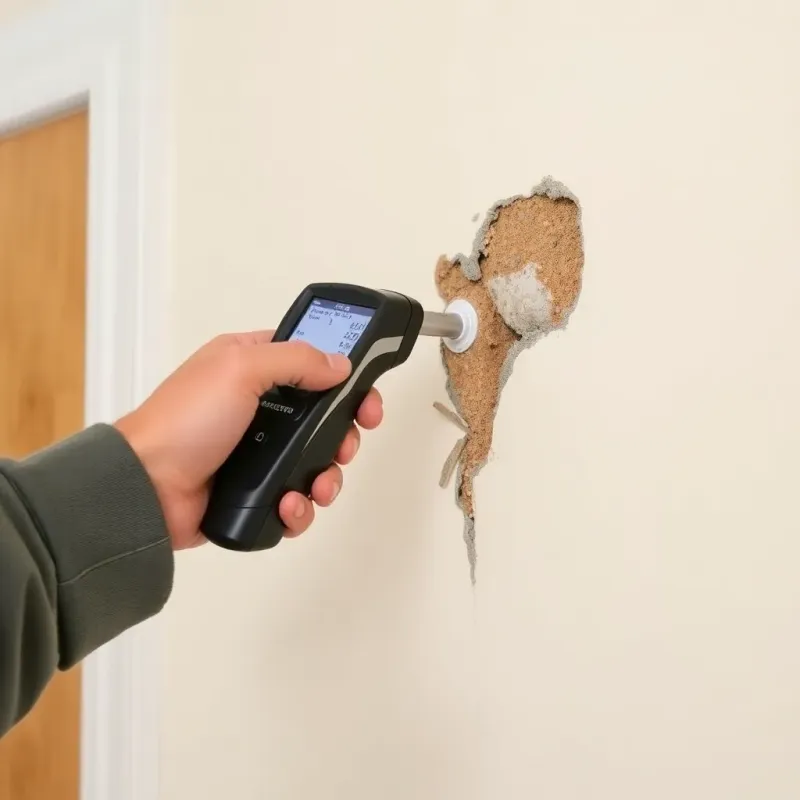
Use thermal imaging or simply feel pipes with your hand during winter. Cold pipes are candidates for additional insulation.
Winterization Methods and Techniques
Method 1: Pipe Insulation Sleeves
What they are: Foam tubes that slide over pipes, providing consistent thermal protection.
Installation steps:
- Measure your pipe diameter
- Select appropriately sized foam sleeves
- Slide sleeves over exposed pipes
- Seal the seams and joints with duct tape
- Ensure no gaps remain where cold air can reach the pipe
Advantages:
- Low cost ($0.50-$2 per linear foot)
- Easy DIY installation
- Reusable for multiple years
- Minimal maintenance required
Best for: Primary plumbing runs and easily accessible pipes.
Method 2: Heat Tape Application
Heat tape (also called heat cable) electrically warms pipes, preventing freezing even in harsh conditions.
Installation guidelines:
- Unroll heat tape along the pipe, starting at the lowest point
- Wrap in a spiral pattern with half-inch overlaps
- Avoid placing heat tape over itself (creates hot spots)
- Secure with electrical tape every 12 inches
- Plug into a GFCI-protected outlet
- Install a thermostat for automatic temperature control
Safety considerations:
- Only use UL-listed heat tape
- Never use heat tape on plastic pipes
- Keep heat tape at least 6 inches from water heater
- Install with a thermostat that activates below 50°F
- Regular inspection for damage or wear
Cost range: $20-$100 per pipe location, depending on length.
Best for: Extremely vulnerable pipes and those in uninsulated walls.
Method 3: Drain and Disconnect Strategy
For outdoor faucets and seasonal water sources:
Winterization process:
- Turn off the water supply valve inside your home
- Open the outdoor faucet to drain remaining water
- Disconnect and store hoses
- Install an insulated faucet cover
- Leave the outdoor valve open to allow pressure release
Faucet cover options:
- Foam insulation covers ($3-$8)
- Custom thermal boxes
- Bubble wrap with plastic bags
This simple approach prevents ice accumulation in outdoor fixtures and connected hoses.
Method 4: Attic and Crawl Space Sealing
Address air leaks:
- Inspect for gaps around pipes entering walls
- Seal with expanding foam insulation
- Caulk cracks and small openings
- Install temporary barriers to redirect warm air toward pipes
Improve overall insulation:
- Add blown-in fiberglass or cellulose insulation
- Ensure attic ventilation balances with thermal protection
- Consider radiant barriers to minimize heat loss
Budget: $200-$800 depending on space size and existing conditions.
Maintaining Your Winterization System
Monthly Winter Checks
Create a winterization maintenance schedule:
- Visual inspection of all insulated pipes
- Check heat tape connections and thermostats
- Verify no gaps have opened in foam sleeves
- Test outdoor faucet covers for proper fit
- Inspect attic conditions after storms
When to Enhance Protection
Additional winterization measures help in extreme cold:
Open cabinet doors: Allow warm air circulation around under-sink pipes during cold snaps.
Drip faucets strategically: Allowing a slight drip during freezing weather can prevent pressure buildup. This works because moving water has a higher freezing point than static water. Apply this only when temperatures drop below 20°F.
Use space heaters carefully: In crawl spaces or garages, ceramic space heaters can provide targeted warmth. Always maintain proper clearance and never leave unattended.
What to Do If Pipes Freeze
Recognizing Frozen Pipes
Warning signs:
- No water flowing from faucets
- Strange sounds in pipes
- Visible frost on exposed pipes
- Smell of stagnant water
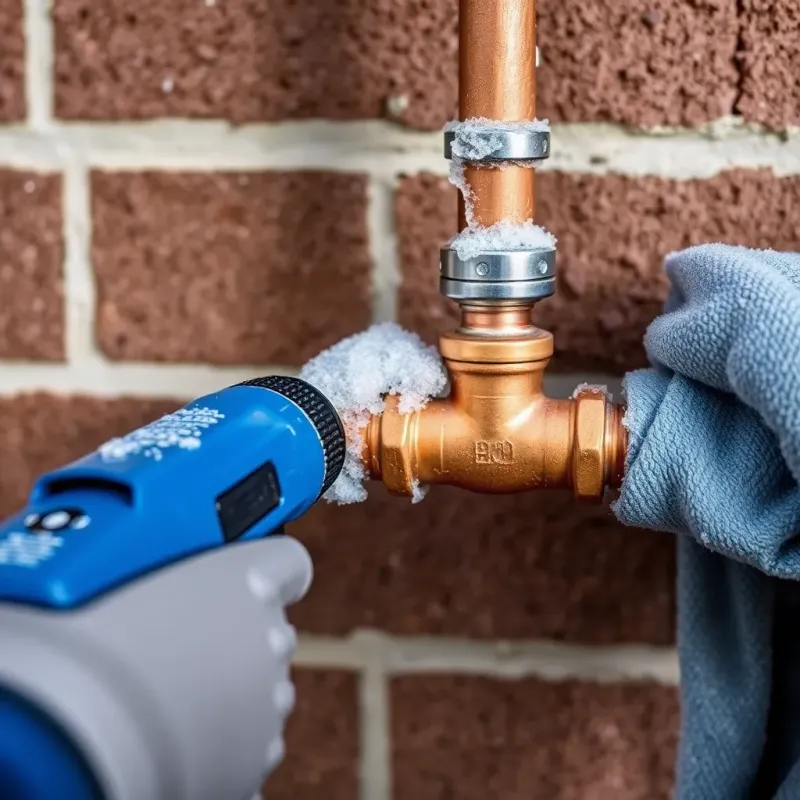
Thawing Techniques
Safe thawing methods:
- Heat source application: Use a heat lamp, space heater, or hair dryer aimed at the frozen section
- Towel method: Wrap the pipe section with towels and pour warm (not boiling) water over them
- Heat tape: If already installed, activate the system and monitor
- Professional help: For inaccessible pipes, contact a plumber immediately
Critical safety warnings:
- Never use blowtorch or open flame (fire hazard)
- Never use boiling water directly on pipes (thermal shock damage)
- Open faucets and cabinet doors to assist thawing
- Work from the faucet toward the frozen section
- If you smell gas, evacuate and call the gas company
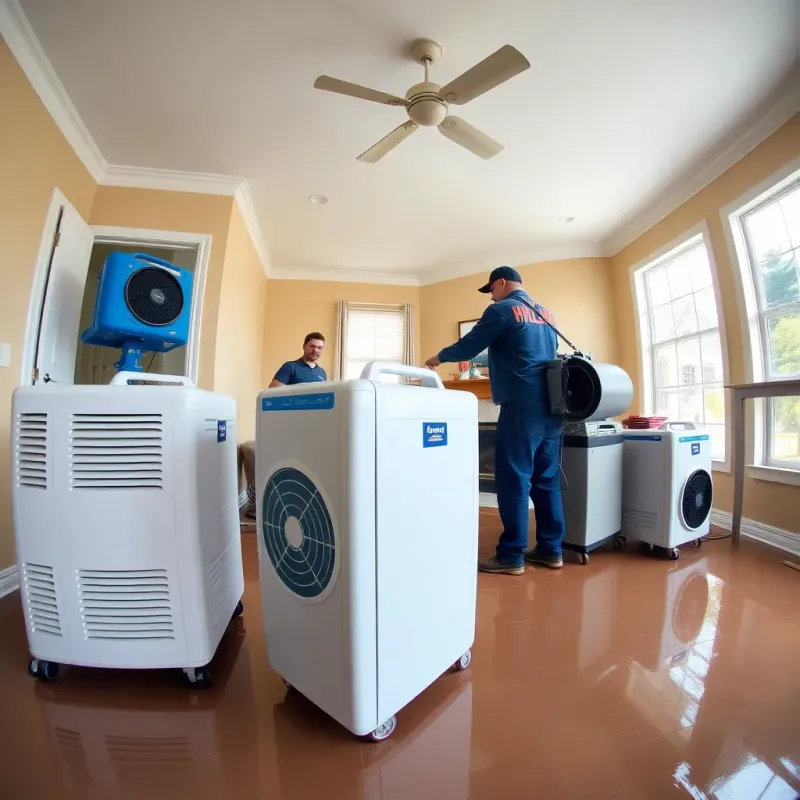
Emergency Steps if Pipes Burst
- Shut off water at the main valve immediately
- Turn off heating systems
- Document damage with photos for insurance
- Call an emergency plumber
- Contact your homeowner’s insurance
- Place buckets to catch water and minimize damage spread — follow our emergency water damage checklist
Creating Your Winterization Timeline
Fall Preparation (September-October)
- Inspect all pipes and vulnerable areas
- Purchase insulation materials
- Install foam sleeves on exposed pipes
- Test outdoor water shutoff valves
- Drain irrigation systems and hoses
Early Winter (November-December)
- Install heat tape on high-risk pipes
- Seal attic and crawl space air leaks
- Install faucet covers and insulation
- Test thermostats on heat tape systems
- Document all winterization measures
During Winter (January-March)
- Conduct monthly inspections
- Monitor weather forecasts
- Apply preventative dripping during cold snaps
- Check for new gaps or damage
- Keep clearance around heating sources
Spring Shutdown (April-May)
- Remove temporary insulation and covers
- Inspect pipes for any damage sustained
- Test all water systems thoroughly
- Plan repairs for any damage found
- Update winterization plan for next year
Common Winterization Mistakes to Avoid
Mistake 1: Assuming your attic is adequately ventilated Many homes have attic ventilation that actually cools pipes. Verify that insulation and ventilation balance protects pipes without creating condensation issues.
Mistake 2: Using heat tape without a thermostat Uncontrolled heat tape wastes electricity and risks damage. Always pair with a temperature-sensitive thermostat.
Mistake 3: Ignoring crawl spaces These areas often house critical water supply lines. Insulate pipes here aggressively, or seal the space entirely if possible. In my experience working with homeowners after burst pipe events, crawl space pipes are the culprit in the vast majority of cases—they are out of sight and out of mind, but they are the most exposed pipes in the entire house.
Mistake 4: Assuming walls insulate pipes adequately Many exterior walls have minimal insulation. Don’t assume your home is protected without inspection.
Mistake 5: Leaving hoses connected in winter Connected hoses freeze and trap water in supply lines. Always disconnect and drain.
Mistake 6: Setting winterization and forgetting it Systems require maintenance. Damage can occur if heat tape fails or insulation shifts.
Professional Winterization Services
If DIY winterization seems overwhelming, professional plumbers offer:
- Comprehensive pipe audits and vulnerability assessments
- Professional installation of insulation systems
- Heat tape installation with thermostats
- Regular inspection and maintenance programs
- Emergency thawing services
Expected costs: $300-$1,500 depending on home size and complexity.
FAQ: Winterizing Your Pipes
Q: At what temperature do pipes freeze? A: Pipes can freeze at 32°F (0°C), but freezing typically occurs after prolonged exposure to temperatures below 20°F (-6°C). Moving water and pipes with good insulation remain safe at slightly lower temperatures.
Q: Can I use newspaper for pipe insulation? A: While newspaper provides minimal insulation, foam sleeves are more effective and durable. Newspaper can absorb moisture and deteriorate quickly. For temporary protection, it’s better than nothing, but invest in proper foam insulation for winter.
Q: Should I heat my basement to protect pipes? A: Maintaining basement temperatures above 55°F helps prevent freezing. However, proper pipe insulation is more cost-effective than heating the entire basement. Focus on insulating pipes in unheated spaces rather than heating those spaces.
Q: How much does winterization cost compared to water damage repair? A: Winterization costs $200-$1,500 for a thorough job. Water damage from frozen pipes can cost $5,000-$25,000 or more. The return on investment is substantial—prevention is far less expensive than remediation.
Q: What’s the best heat tape for PEX pipes? A: For PEX and plastic pipes, use non-metallic heat cables specifically designed for plastic plumbing. Never use standard heat tape on plastic pipes as it can damage the material. Always verify compatibility before installation.
Conclusion
Winterizing your pipes is one of the most cost-effective ways to protect your home from water damage. Whether you choose foam insulation, heat tape, or a combination of methods, the key is identifying vulnerable pipes and protecting them before winter arrives. Consider pairing winterization with smart water shutoff valves for added protection while you’re away.
Start your winterization process in fall, maintain systems throughout winter, and inspect regularly for any issues. By following this comprehensive guide, you’ll avoid frozen pipes and the expensive water damage they cause.
Don’t wait for winter to strike. Take action today to protect your home and enjoy peace of mind through the cold months ahead.
Disclaimer: This article is for informational purposes only and does not constitute professional advice. Every water damage situation is unique. Always consult a licensed contractor or restoration professional for your specific situation. If you’re dealing with an emergency, contact your local restoration company immediately.