Why Washing Machine Water Damage is a Growing Problem
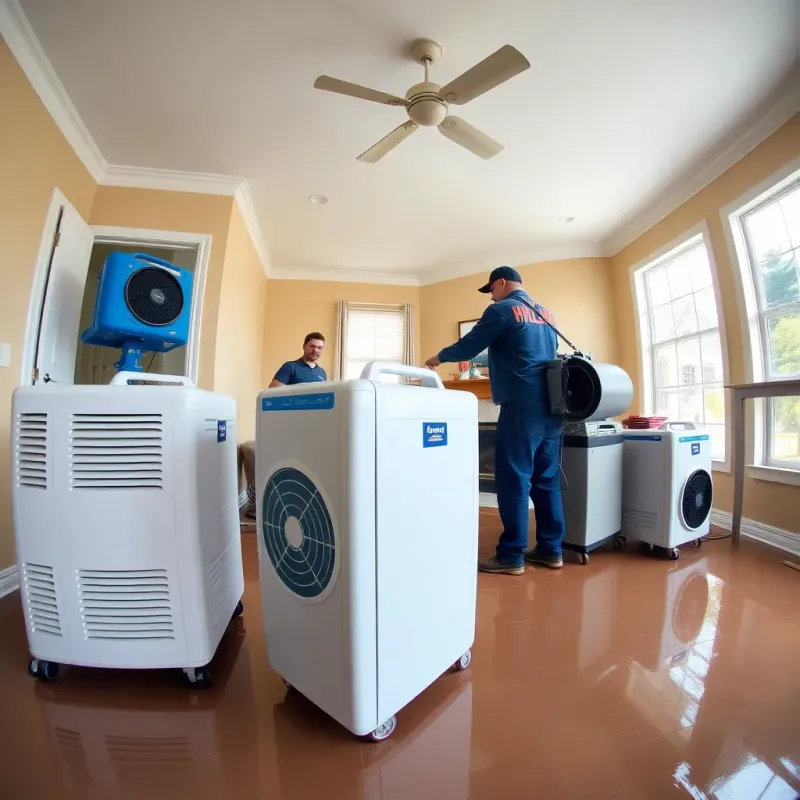
Washing machines are one of the leading causes of water damage in residential homes, second only to roof leaks and plumbing failures. Unlike AC unit leaks that develop gradually, washing machine failures can release hundreds of gallons of water in just minutes, causing devastating damage to flooring, walls, personal belongings, and structural elements.
The statistics are sobering: insurance companies report that the average washing machine water damage claim exceeds $11,000 in repairs. Many claims could have been prevented with basic maintenance and the right protective measures.
What makes washing machines particularly dangerous is their location in laundry rooms, often situated near bedrooms, living areas, or on upper floors where water can cascade downward and affect multiple levels of a home. A burst hose or drain blockage at 2 AM can cause thousands of dollars in damage before you even realize there’s a problem.
Key Takeaway: Replacing standard rubber washing machine hoses with braided stainless steel hoses every five years and installing a $30-$50 automatic shutoff valve are the two most effective steps you can take to prevent catastrophic washing machine water damage.
This comprehensive guide provides actionable steps to prevent washing machine water damage and protect your home and belongings.
The Most Common Causes of Washing Machine Leaks
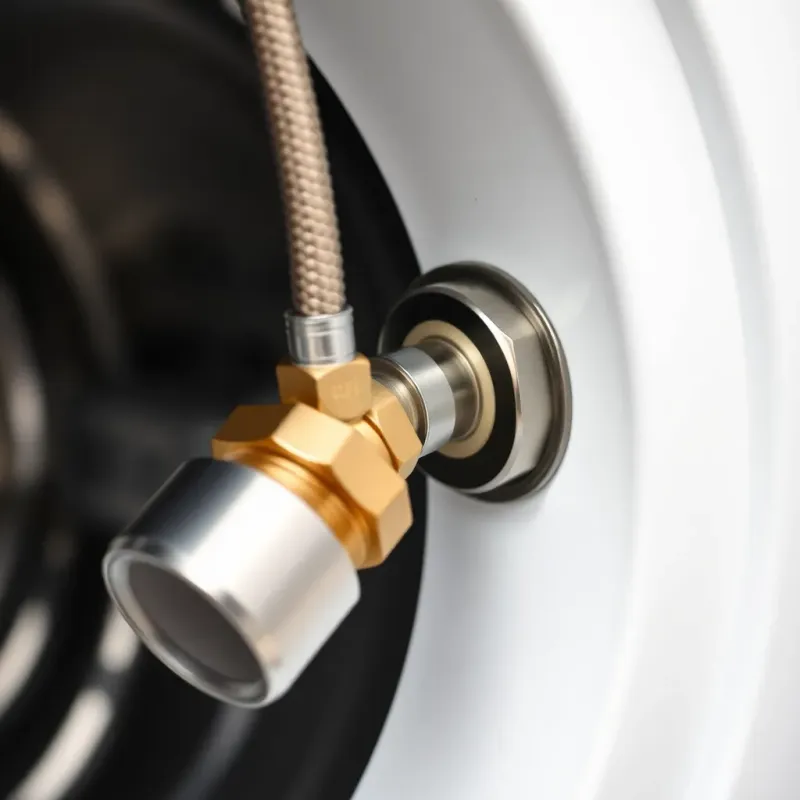
Deteriorated Supply Hoses
The inlet hoses that bring water into your washing machine are under constant pressure from your home’s water supply system. Over time, these rubber or braided hoses deteriorate from the inside and outside:
- Internal degradation causes the rubber lining to break down, creating weak spots and cracks
- External damage from UV exposure, temperature fluctuations, and physical wear
- Connection failures at both the wall supply and the washing machine connection points
- Manufacturing defects in cheaper hose materials that fail prematurely
Most standard rubber hoses fail within 5-8 years. Even hoses that look fine on the outside can have internal cracks that allow water to leak slowly or burst suddenly under pressure. In my experience working with homeowners after washing machine floods, the rubber hoses that came with the machine are almost always the culprit. I have never seen a braided stainless steel hose burst under normal household water pressure—the upgrade costs $30-$50 and is the single best investment you can make for your laundry room.
Blocked or Damaged Drain Hose
Washing machines pump water out through drain hoses that typically connect to a standpipe (the vertical drainage pipe). Several issues can develop:
- Kinks or pinches in the hose restrict water flow, causing backups
- Debris buildup including lint, soap, and clothing fibers accumulate inside the hose
- Improper drainage height if the hose isn’t positioned correctly, water backs up into the machine
- Cracks or splits develop over time, allowing water to escape into walls or floors
When the drain hose is blocked, water cannot exit the machine, causing it to overflow and flood the laundry room floor.
Pump Seal Failure
The pump that moves water through your washing machine has seals that prevent leaks. Over time, these seals wear out and fail, causing slow leaks around the pump housing. You might notice a small puddle forming under the machine that seems to come from nowhere.
Early detection of a failing pump seal can sometimes allow replacement before catastrophic failure, but eventually the seal will fail completely.
Inlet Valve Problems
The inlet valve controls water entering the machine. Mineral deposits, rust, and sediment can clog the valve, causing it to malfunction or fail to close completely. A faulty inlet valve might allow water to continuously trickle into the machine even when it’s off, or fail to shut off after the wash cycle completes.
Hose Inspection and Replacement Strategy
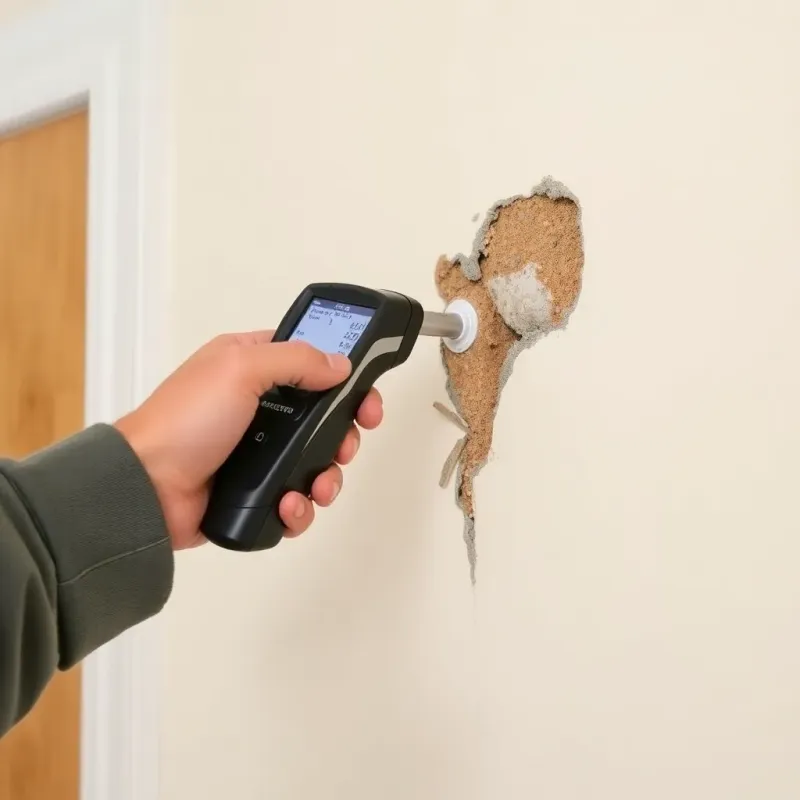
Monthly Visual Inspections
Develop a habit of inspecting your washing machine hoses once monthly:
Look for:
- Bulges, blisters, or soft spots in the hose
- Cracks, splits, or holes where water might escape
- Discoloration, rust, or corrosion on the outer surface
- Loose connections at both ends
- Any water stains or drips around the connections
- Hoses that feel brittle or hard rather than flexible
Pay special attention to:
- The areas closest to the machine where hoses bend
- Connection points where hoses attach to the wall supply and the machine
- Any portion of the hose that feels warm or shows signs of wear
When to Replace Hoses
Hoses should be replaced if they show any signs of deterioration, but proactive replacement every 5 years is an excellent preventive strategy. Don’t wait for obvious problems—hoses fail suddenly without warning.
Selecting Quality Replacement Hoses
Not all hoses are created equal. Choose hoses with these features:
Reinforced or braided hoses: Steel-braided hoses are far more durable than basic rubber hoses. They resist kinks, last longer, and are less likely to burst suddenly.
Heavy-duty construction: Look for hoses with thicker walls and multiple layers of protection.
Warranty: Quality hoses often come with 10-year manufacturer warranties. If a hose lacks a warranty, it’s likely a budget product worth avoiding.
Certified specifications: Choose hoses that meet NSF (National Sanitation Foundation) or similar certification standards.
Professional Installation Considerations
While replacing hoses is a straightforward DIY project for many homeowners, consider professional installation if:
- Your washing machine is built into a tight cabinet or enclosed space
- You’re uncomfortable working with plumbing connections
- Your home has unusual water pressure (very high pressure can accelerate hose failure)
- You want the installation guaranteed by a professional
Drain Maintenance and Proper Installation
Checking Drain Hose Position
The end of your washing machine’s drain hose should be positioned:
- At the correct height (typically 30-36 inches above the floor, never more than 8 feet high)
- Secured in a standpipe that’s at least 2 inches in diameter
- Not kinked or pinched to allow water to flow freely
- Not submerged in standing water at the base of a standpipe
An improperly positioned drain hose is one of the most common causes of washing machine backups and leaks. Check your installation against the manufacturer’s specifications for your specific machine model.
Clearing Drain Clogs
If water drains slowly from your washing machine or backs up occasionally:
- Disconnect the drain hose at the standpipe end (have towels ready for residual water)
- Inspect the opening for visible lint, debris, or blockages
- Use a plumbing snake or wire coat hanger to remove debris from inside the hose
- Flush the hose with hot water to clear remaining sediment
- Reconnect the hose securely in the standpipe
For stubborn clogs deep in your home’s drainage system, a professional plumber with a motorized drain auger may be necessary.
Preventing Lint Buildup
Lint is the primary cause of drain hose clogs:
- Use lint filters in the washer if your machine includes one
- Clean lint traps after every wash cycle
- Check drain hoses quarterly for lint accumulation
- Run drain cleaner through the standpipe monthly to prevent buildup in the drainage system
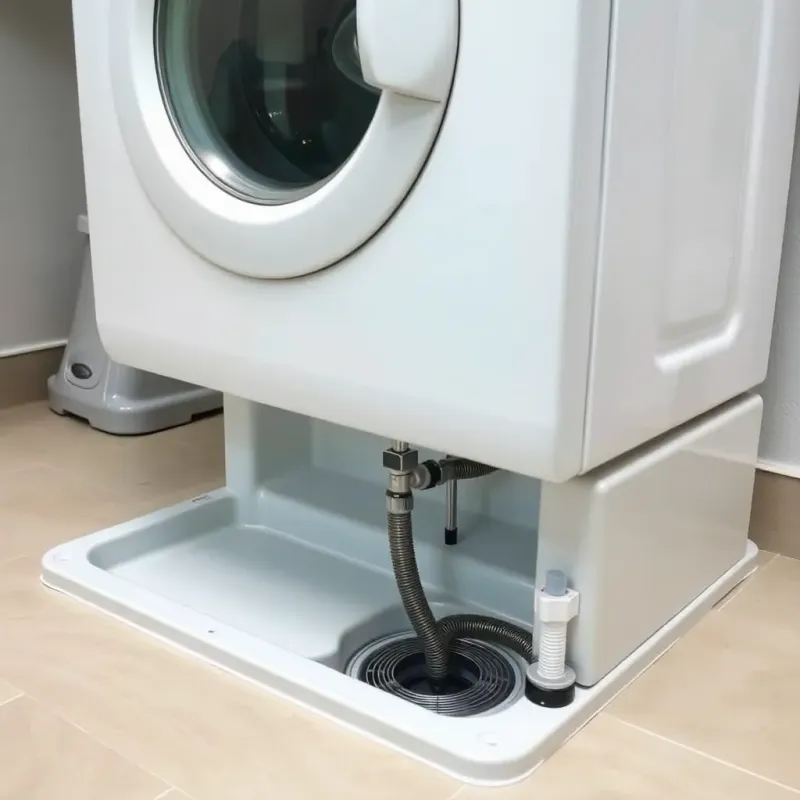
Drain Pan Installation
Installing a drain pan under your washing machine provides secondary protection:
- Plastic drain pans are affordable ($20-50) and collect water from minor leaks
- The pan should have a drain that directs water to an appropriate drain location
- Pans don’t prevent all damage but give you time to notice and address problems before they become serious
- Check the pan periodically to ensure it’s not accumulating water
Automatic Shutoff Valves: Smart Protection
How Water Shutoff Valves Work
Automatic water shutoff valves provide emergency protection by detecting leaks and shutting off water supply to your washing machine:
Mechanical shutoff valves sense water pressure changes that indicate a leak and automatically close the water supply. When normal water pressure increases slightly (which occurs during a leak), the valve’s sensor detects this and triggers closure.
Smart shutoff valves use electronic sensors to detect moisture or water flow changes and can shut off water remotely or send alerts to your smartphone.
Benefits of Automatic Shutoff Valves
- Leak detection: Some models alert you to leaks before they cause major damage
- Automatic protection: Water supply shuts off automatically without human intervention
- Peace of mind: Especially valuable if you leave your home frequently or live in a colder climate where burst hoses are more likely
- Insurance discounts: Some homeowners insurance policies offer premium discounts for homes with shutoff valves (5-15% discounts possible)
Installation Options
Point-of-use shutoff valves install directly on the hose connections at the washing machine. These are:
- Affordable ($30-100 per pair)
- Easy to install (no special tools needed)
- Most effective for washing machine protection
- Recommended for most homeowners
Whole-house shutoff valves install where water enters your home, protecting the entire house. These are:
- More expensive ($200-500 for smart models)
- Require professional installation
- Provide broader protection for all water-related problems
- Ideal for high-end homes or those with multiple at-risk appliances
Top Automatic Shutoff Valve Products (2026)
Several reliable options are available:
- WAXMAN ShutOFF Automatic Shut-Off Valves ($50-80): Mechanical sensors, no electricity required, proven track record
- Phyn Plus Smart Water Shutoff ($500-800): Full-house protection with smartphone app, instant alerts, professional installation
- Flowsense by Pentair ($400-600): Leak detection with automatic shutoff, integrates with smart home systems
- Moen Smart Water Shutoff ($600): Voice control compatible, automatic shutoff, remote monitoring
The right choice depends on your budget, technical comfort level, and the extent of protection you desire.
What to Do If Your Washing Machine Leaks
Immediate Response
Stop the current cycle immediately if you notice water outside the machine:
- Unplug the machine if water has reached electrical outlets or the cord
- Turn off the water supply valves connected to the machine (most machines have valve shutoffs behind or underneath)
- If you cannot locate or reach the shutoff valves, close the main water shutoff valve for your entire home
- Open the washing machine door carefully and remove wet clothing
- Use towels or wet-dry vacuums to remove standing water
Documentation and Assessment
Before cleaning up:
- Take photos and videos of the water damage for insurance purposes
- Note the source of the leak (hose, pump, drain, etc.)
- Photograph the washing machine, hoses, and connections
- Record the date, time, and extent of the leak
- Note any water damage to surrounding walls, floors, or belongings
Professional Assessment
Call a washing machine repair technician or a water damage restoration company:
- Repair technicians diagnose the cause and repair or replace the faulty component
- Water damage professionals assess damage to flooring, walls, and other structures
Proper Installation Guidelines
Location Selection
Choose your washing machine location carefully:
- Avoid upper floors if possible—water can damage lower levels when machines flood
- Use bathroom or laundry room floors with proper drainage capacity
- Install in areas above concrete or tile rather than above bedrooms or living areas
- Ensure proper ventilation to prevent humidity problems
Installation Best Practices
When installing a new washing machine:
- Use new supply hoses (high-quality, braided hoses)
- Connect hoses securely with no gaps or loose connections
- Position the drain hose correctly according to manufacturer specifications
- Install a drain pan to catch leaks
- Install shutoff valves for automatic leak protection
- Leave access space around the machine for maintenance and inspections
- Use thread seal tape (plumber’s tape) on all threaded connections
FAQ About Washing Machine Water Damage Prevention
Q: How often should I replace washing machine hoses? A: Replace hoses proactively every 5 years regardless of their appearance, or immediately if they show any signs of deterioration. This is far cheaper than dealing with water damage.
Q: Can washing machine water damage claims be denied by insurance? A: Claims may be denied if you neglected regular maintenance or if the damage resulted from known problems you failed to address. Proper maintenance documentation helps ensure coverage.
Q: What’s the difference between hot and cold water inlet hoses? A: Some machines have different hoses for hot and cold water. Always replace hoses with the exact type specified in your machine’s manual to ensure proper pressure ratings.
Q: Is it necessary to use automatic shutoff valves? A: While not absolutely necessary, they provide excellent protection and often qualify for insurance discounts that offset the cost. They’re highly recommended, especially if you travel frequently or have upper-floor machines.
Q: How do I know if my drain hose is positioned correctly? A: The drain hose opening should be inserted 4-8 inches into the standpipe and positioned at least 30-36 inches above the floor. Check your machine’s manual for specific requirements.
Q: What should I do if my washing machine leaks during a cycle? A: Stop the cycle immediately, unplug the machine if there’s water near electrical components, turn off water supply valves, and call a repair technician. Do not attempt to restart the machine.
Conclusion
Washing machine water damage is largely preventable through proactive maintenance and protection measures. By implementing the strategies outlined in this guide—regularly inspecting and replacing hoses, maintaining drain systems, installing shutoff valves, and ensuring proper installation—you can protect your home from this common source of damage.
The investment in quality hoses ($50-200), drain pan installation ($30-50), and automatic shutoff valves ($30-800) is minimal compared to the $11,000+ average cost of water damage restoration. These preventive measures are among the most cost-effective home protection investments you can make.
Start today by inspecting your washing machine hoses. If they’re more than 5 years old or showing any signs of wear, replace them immediately. Consider installing an automatic shutoff valve and drain pan for additional protection. Regular maintenance and these simple protective measures will give you years of reliable, leak-free washing machine operation.
Disclaimer: This article is for informational purposes only and does not constitute professional advice. Every water damage situation is unique. Always consult a licensed contractor or restoration professional for your specific situation. If you’re dealing with an emergency, contact your local restoration company immediately.