How to Document Water Damage for Insurance: Photo & Video Guide
In my experience, the biggest shock for homeowners isn’t the water damage itself — it’s finding out their claim was underpaid by thousands of dollars because they didn’t document things properly. I had a client last spring who suffered a burst pipe that flooded three rooms. The damage was easily $18,000. But because he cleaned up before taking photos and couldn’t prove the extent of the damage, the adjuster settled at $11,000. That’s $7,000 left on the table. I’ve seen it happen dozens of times, and it’s almost always preventable.
Good documentation isn’t complicated, but it does need to be done right and done fast. Before you begin, verify coverage applies before documenting to ensure your efforts support a valid claim. In this guide, I’ll show you the exact techniques I’ve taught homeowners over the years — the same ones that professional restoration companies use — so your evidence holds up and your claim gets paid in full.
Key Takeaway: Document everything before you clean up anything. The single biggest mistake homeowners make is mopping, tearing out carpet, or throwing away damaged items before photographing them. Your photos and videos from the first hour are worth more to your claim than anything else you’ll submit.
Why Documentation Matters: The Impact on Your Claim
Insurance adjusters evaluate claims based on evidence. Poor documentation leads to:
Low settlements
- Adjuster underestimates damage extent
- Missing items aren’t counted in payout
- Replacement costs are undervalued
- Secondary damage is overlooked
Claim denials — thorough documentation helps you avoid claim denial with thorough documentation
- Adjuster questions damage authenticity
- Timeline disputes about when damage occurred
- Contradictions between your description and evidence
- Insufficient proof of item ownership or value
Prolonged claims
- Repeated requests for additional evidence
- Multiple inspection requests
- Negotiations about damage assessment
- Delayed claim resolution
Professional documentation accomplishes:
- Establishes clear damage timeline
- Proves ownership of damaged items
- Documents extent of damage
- Supports replacement cost estimates
- Prevents disputes with adjuster
- Accelerates claim resolution
Preparing to Document: Tools and Equipment
Before you begin photographing and videoing, gather necessary tools:
Camera Options
Smartphone cameras
- Adequate for most water damage documentation
- Always available in emergency
- Easy to organize and back up photos
- Sufficient resolution for insurance purposes
- Built-in date/time stamps
Digital cameras
- Better zoom capability for detailed shots
- Superior image quality in low light
- Ability to capture rapid sequences
- More professional appearance of documentation
Hybrid approach
- Use smartphone for initial rapid documentation
- Use quality camera for detailed follow-up
- Ensures comprehensive coverage
Equipment backup:
- Fully charged batteries or chargers
- Clean camera lenses (water residue affects quality)
- Extra memory cards or smartphone storage
- Adequate lighting (flashlight or work lights)
Measurement and Recording Tools
- Measuring tape: Document extent of damage (measure floor wet area, height of water line on walls)
- Notebook and pen: Record observations, dates, times, temperatures
- Smartphone voice recorder: Quick verbal notes without stopping documentation
- Clipboard: Organize documentation while in the field
Lighting Equipment
- Work lights or flashlights: Illuminate dark areas (basements, interior walls, under carpets)
- Tripod or stabilizer: Steady video for professional appearance
- Headlamp or hands-free light: Allow hands-free operation while photographing
Step-by-Step Photo Documentation Guide
Phase 1: Overall Damage Assessment (Immediate, First 30 Minutes)
Follow the immediate response actions for water damage first, then document the broader context before focusing on details:
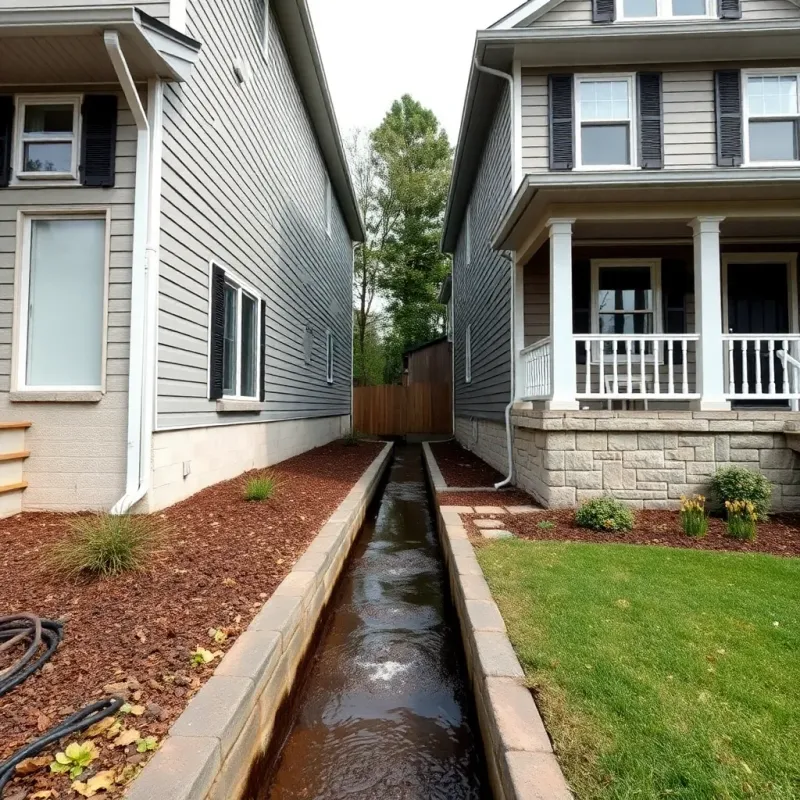
Exterior shots
- Building exterior from multiple angles
- Visible damage to roof, gutters, siding
- Water source location (flooded yard, broken gutter)
- Surrounding context (wet landscaping, standing water)
- Entry points for water (basement window wells, foundation cracks)
Entry and pathways
- Water trail from entry point through home
- Floors showing water damage progression
- Affected rooms in relation to water source
- Transitions between wet and dry areas
Full room views
- Each affected room from corner to opposite corner
- Wide shots showing overall damage extent
- Multiple angles of each room
- Room context with identifiable features
Technique tips:
- Use wide-angle setting on smartphone (not zoom)
- Include a person or familiar object for scale reference
- Shoot from multiple heights (ground level, standing, elevated)
- Capture both daylight and artificial lighting angles
Phase 2: Item-Specific Documentation (Minutes 30-120)
Now focus on individual damaged items:
Furniture damage
- Close-up of water staining on upholstery
- Swelling or warping of wooden furniture
- Water line marks on furniture legs
- Damage to all sides (front, back, bottom)
- Any visible damage progression (wet to partially dry areas)
Electronics
- Water damage indicators (corrosion, residue on circuit boards)
- Water lines on exterior casing
- Liquid seepage visible in seams
- Device brand, model number visible in photo
- Surrounding context showing placement location
Flooring
- Buckled, warped, or discolored sections
- Cupping or curling of wood planks
- Water staining patterns
- Separation of flooring materials
- Measurement of affected area (using measuring tape in photo)
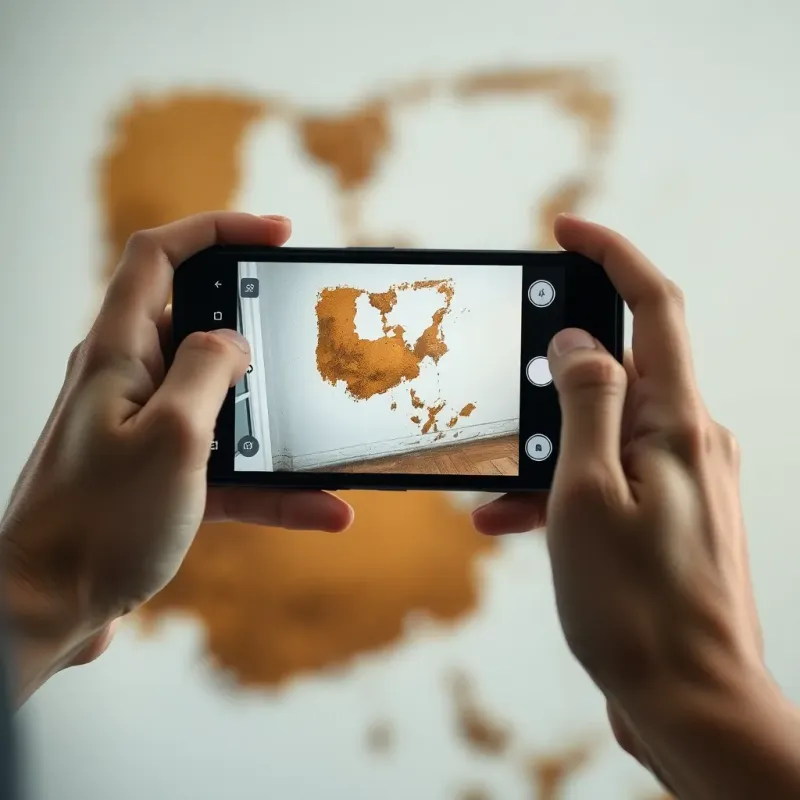
Walls and baseboards
- Water staining patterns and progression
- Drywall damage, swelling, or disintegration
- Baseboard warping or material separation
- Visible mold or mildew growth
- Water line demarcation on walls
Appliances
- Brand, model, and serial number visible in photo
- Water damage indicator status
- Location within kitchen or laundry area
- Surrounding water damage context
Clothing and textiles
- Close-up of water damage on garments
- Pile of affected clothing showing quantity
- Individual items showing water staining
- Color fading or dye bleeding
- Mold or mildew growth (if present)
Important note:
- Photograph items BEFORE cleanup or removal
- Document items in their original locations
- Don’t toss damaged items until insurer confirms
- Later photos of the same items can supplement
Personal tip: I cannot stress this enough — do not throw away damaged items until your adjuster gives you the green light. I’ve had clients toss waterlogged furniture into the dumpster on day one, then get a reduced payout because the adjuster couldn’t verify the damage. Keep everything, even if it smells terrible. Pile it in the garage or driveway if you have to.
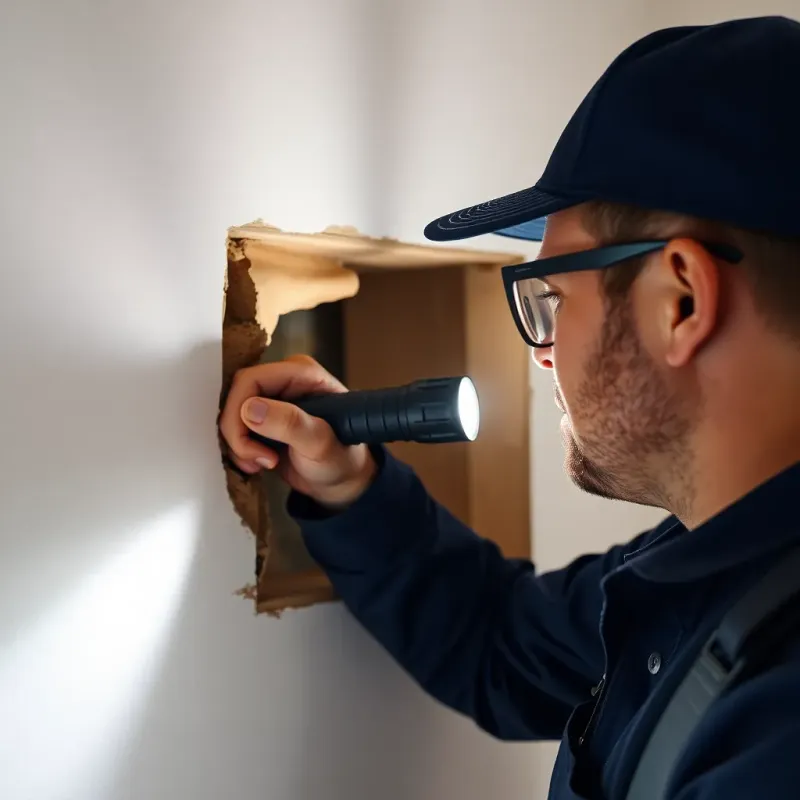
Phase 3: Hidden Damage Documentation (Day 2-4)
As water damage progresses, hidden damage becomes apparent:
Under flooring
- Subflooring visible under damaged sections
- Joists or structural elements affected
- Moisture or mold visible beneath flooring
- Insulation condition below flooring
Within walls
- Wall cavities visible from water entry points
- Insulation saturation
- Structural stud damage
- Visible mold growth within walls
Ceiling and attic spaces
- Ceiling damage, staining, or collapse
- Attic rafter damage or water intrusion
- Insulation saturation
- Evidence of water travel within structure
HVAC and mechanical systems
- Water damage to furnace, air handler, or heat pump
- Ductwork water intrusion
- Electrical panel or breaker water exposure
- Water heater condition
Crawl spaces
- Standing water visible
- Moisture or mold on joists
- Damage to structural elements
- Insulation condition
Video Documentation Techniques
Video provides compelling evidence of damage extent and progression:
Initial Video Walkthrough (30-60 seconds per room)
Record a video walkthrough immediately after discovering damage:
Format:
- Slow, steady camera movement
- Narrative describing conditions
- 30-60 second overview per room
- Include water source identification
Narration example: “This is the master bedroom. You can see water damage on the carpet extending from the bathroom door (point camera toward bathroom). The water line is visible on the baseboards at approximately 2 inches high. The ceiling shows water staining in the northwest corner.”
Benefits:
- Shows overall damage extent
- Demonstrates water progression
- Creates timeline of discovery
- Adjuster sees damage in context
Detailed Item Videos (15-30 seconds per item)
Document specific damaged items:
Format:
- Rotate item to show all affected sides
- Close-ups of damage details
- Wider shots showing item’s original placement
- Clear focus on identifying features
Example sequence:
- Wide shot showing sofa location in living room
- Close-up of water staining on cushion
- Pan along entire sofa length
- Flip cushion to show underside damage
- Shot of water damage on exposed frame
Time-Lapse Documentation (if damage is ongoing)
If water damage continues developing:
Setup:
- Position camera to capture affected area
- Take photos every 15-30 minutes for 24-48 hours
- Record conditions at same time each photo
- Note weather conditions, temperature, humidity
Value:
- Documents mold development timing
- Shows damage progression
- Establishes causation timeline
- Supports emergency response necessity
Creating a Comprehensive Damage Inventory
Professional inventory documentation is essential for claim success:
Inventory Format
Create a detailed spreadsheet or written inventory including:
| Item Description | Room | Category | Condition Before | Purchase Price | Purchase Date | Est. Replacement Cost | Notes |
|---|---|---|---|---|---|---|---|
| Leather sofa, brown, sectional | Living Room | Furniture | Excellent | $2,400 | 2022 | $2,400 | Water line 4” up leg, cushion saturation |
| Samsung 65” 4K TV | Living Room | Electronics | Excellent | $1,200 | 2023 | $1,400 | Water damage on back panel, non-functional |
| Wooden dining table, oak | Dining Room | Furniture | Good | $800 | 2018 | $600 | Water warping on top, finish damage |
| Persian rug, 8x10 | Living Room | Furnishings | Good | $1,500 | 2015 | $800 | Complete saturation, mold growth evident |
Item-Level Documentation
For high-value items, create detailed records:
Item file should include:
- 3-4 photographs from different angles
- Original receipt or credit card statement
- Appraisal or valuation document
- Serial number or identifying characteristics
- Replacement product information and current pricing
- Condition before water damage
- Condition after water damage
- Any repair estimates obtained
Categories for Organization
Organize inventory by category:
- Furniture: Sofas, chairs, tables, beds, dressers
- Electronics: TVs, computers, printers, game systems
- Appliances: Washers, dryers, refrigerators, microwaves
- Flooring: Carpet, hardwood, tile (calculate square footage)
- Clothing: Separate high-value items, calculate garment counts
- Books and papers: Estimate quantities and value
- Art and collectibles: High-value items requiring detailed documentation
- Toys and recreational: Children’s items, sports equipment
- Miscellaneous: Everything else
Documentation Checklist: What You Need for a Successful Claim
Over the years, I’ve compiled this checklist based on what adjusters actually look for. Having all of these ready before you submit will dramatically speed up your claim and reduce the chance of a lowball offer.
| Document Type | Priority | When to Gather | What It Proves | Tip |
|---|---|---|---|---|
| Wide-angle room photos (pre-cleanup) | Critical | First 30 minutes | Extent and severity of damage | Shoot from every corner of affected rooms |
| Close-up item photos | Critical | First 2 hours | Specific damage to individual items | Include brand labels and serial numbers |
| Video walkthrough with narration | Critical | First hour | Overall damage context and progression | Describe what you see as you walk through |
| Damage inventory spreadsheet | High | Days 1-3 | Itemized list of all damaged property | Include purchase price, date, and replacement cost |
| Original purchase receipts | High | Days 1-7 | Proof of ownership and value | Check email for digital receipts |
| Credit card/bank statements | Medium | Days 1-7 | Backup proof of purchase | Highlight relevant transactions |
| Professional water damage assessment | High | Days 1-5 | Expert validation of damage extent | Worth the $300-$600 investment |
| Contractor repair estimates (2-3) | High | Days 3-10 | Actual cost to repair/restore | Get at least 2 quotes for comparison |
| Plumber’s report (if pipe/leak) | High | Days 1-3 | Cause of damage (sudden vs. gradual) | Critical if insurer disputes cause |
| Mold testing report | Medium | Days 3-7 | Secondary damage documentation | Important if drying was delayed |
| Before-damage photos (if available) | Bonus | Pre-existing | Property condition before the incident | Move-in photos, real estate listing photos |
| Communication log | High | Ongoing | Record of all interactions with insurer | Date, time, name of representative, summary |
| Policy documents | High | Day 1 | Your coverage terms and limits | Highlight relevant coverage sections |
Proof of Ownership and Value Documentation
Insurance adjusters scrutinize ownership proof and value claims:
Original Purchase Documentation
Gather:
- Original receipts: Proof of purchase and original price
- Credit card statements: Show purchase date and amount
- Product warranty cards: Establish approximate purchase date
- Instruction manuals: Identify product brand and model
- Email receipts: Digital confirmation of purchases
Valuation Documentation
Establish current replacement value:
For furniture:
- Current retail prices from furniture retailers
- Online furniture store pricing
- Store catalogs from purchase timeframe
- Appraisals for antique or designer pieces
For electronics:
- Manufacturer specifications and current pricing
- Retailer current pricing (Best Buy, Amazon, etc.)
- Professional electronics appraiser reports
- Model-specific pricing guides
For clothing:
- Tag photos showing brand and original price
- Designer appraisals for high-end items
- Retail replacement pricing
- Dry cleaner valuation estimates (for specialty items)
For collectibles and art:
- Professional appraisals
- Recent comparable sales
- Auction results
- Expert valuations
High-Value Item Documentation
For items over $1,000:
Create detailed file including:
- Color photographs (multiple angles)
- Original purchase receipt
- Appraisal documentation
- Proof of insurance (if previously insured)
- Current market value research
- Repair/restoration estimates
- Expert opinion letters
Consider professional appraisals for:
- Antique furniture
- Fine art or collectibles
- High-end jewelry
- Designer clothing
- Vintage electronics
Digital Organization Best Practices
Proper digital organization speeds claim processing:
Cloud Storage and Backup
Use cloud services:
- Google Drive: 15GB free, easy sharing with adjuster
- Dropbox: 2GB free, professional cloud storage
- OneDrive: Integrated with Microsoft products
- iCloud: Apple ecosystem integration
Backup everything:
- Never rely on single storage location
- Upload photos immediately after taking
- Keep originals plus organized copies
- Create dated folders for each damage incident
Folder Organization System
Create hierarchical structure:
Water Damage Documentation - [Date]
├── Original Photos (All unedited originals)
├── Videos (All video files)
├── Overview Photos (Wide shots, room context)
├── Detailed Photos
│   ├── Furniture
│   ├── Electronics
│   ├── Flooring
│   └── Walls and Structure
├── Inventory and Documentation
│   ├── Inventory Spreadsheet
│   ├── Item-Level Documentation
│   └── Receipts and Valuations
├── Professional Reports
│   ├── Water Damage Assessment
│   ├── Adjuster Reports
│   └── Contractor Estimates
└── Timeline and Communications
    ├── Notification Documentation
    ├── Insurance Correspondence
    └── Work Orders
File Naming Convention
Use descriptive, dated file names:
Good examples:
- 2026-02-18_Living_Room_Water_Line_On_Wall.jpg
- 2026-02-18_Samsung_TV_Back_Panel_Damage.jpg
- 2026-02-18_Leather_Sofa_Full_View.jpg
Avoid:
- IMG_1234.jpg (non-descriptive)
- Photo (not dated, hard to organize)
- DSC_5678 (generic device naming)
Personal tip: Here’s a trick I teach every client: after you take your photos, immediately upload them to Google Drive or iCloud. Water damage situations are chaotic, and I’ve seen people drop their phones in standing water, losing all their evidence. Cloud backup takes two minutes and protects hours of documentation work.
Using Apps and Tools for Documentation
Several apps streamline documentation:
Insurance Documentation Apps
IMGIX
- Organize photos with timestamps
- Create annotated images with measurements
- Export professional documentation
- Cost: Free with limitations, premium tier available
Claim Master
- Dedicated insurance claim documentation
- Automatic photo organization
- Built-in inventory creation
- Cost: $4.99
BuildFax
- Video-based documentation
- Automatic cloud backup
- Professional report generation
- Cost: Free with premium features
Photo Enhancement and Annotation
Adobe Lightroom Mobile
- Enhance photo clarity and exposure
- Organize large photo libraries
- Add metadata and geolocation
- Cost: Included with Adobe subscription or free limited version
Markable
- Add measurements and annotations to photos
- Create visual damage assessments
- Export annotated versions
- Cost: Free
Snapseed
- Enhance photo quality without expensive software
- Add text and annotations
- Create before/after comparisons
- Cost: Free
Common Documentation Mistakes to Avoid
Poor Photo Quality
Problems:
- Photos too dark (inadequate lighting)
- Photos blurry (camera movement or autofocus issues)
- Photos overexposed (too bright, detail loss)
- Insufficient resolution
Solutions:
- Use adequate work lighting
- Use tripod for stability
- Check exposure before shooting
- Use smartphone HDR mode for high-contrast areas
- Delete unusable photos immediately
Inadequate Coverage
Problems:
- Only photographing obvious damage
- Missing hidden damage locations
- No before-water-damage photos
- Insufficient photos of undamaged context
Solutions:
- Photograph every affected room
- Document damage progression over days
- Check ceiling, walls, and floor surfaces
- Include undamaged adjacent items for context
Unclear Item Identification
Problems:
- Photos don’t show brand/model information
- No context about item location
- Unclear what damage represents
- Serial numbers not visible
Solutions:
- Include identifying labels in photos
- Photograph items in original locations
- Zoom in on brand names and model numbers
- Use video to show item functionality
Disorganized Documentation
Problems:
- Mixed up photos from different rooms
- No way to locate specific items
- Lost documentation files
- Duplicates and corrupted files
Solutions:
- Use organized folder system immediately
- Back up to cloud before reviewing
- Create inventory spreadsheet as you photograph
- Use consistent naming conventions
Timeline Issues
Problems:
- Photos undated or incorrectly dated
- Unclear when damage occurred vs. discovery
- Hidden damage photos mixed with initial damage
- Can’t establish damage progression
Solutions:
- Use camera timestamp function
- Note discovery date prominently
- Date all documentation
- Photograph at consistent times across days
Presenting Documentation to Your Insurer
Submission Format
Organize submission package:
- Cover letter explaining damage and documentation contents
- Timeline of events leading to discovery
- Overview photos and initial damage assessment
- Detailed item documentation by room
- Inventory spreadsheet with valuations
- Supporting documentation (receipts, appraisals, estimates)
- Professional reports (if obtained)
Timing Your Submission
Best practices:
- Submit documentation within 14 days
- Don’t rush initial documentation (thorough is better)
- Submit in organized batches rather than overwhelming adjuster
- Include cover letter explaining organization
- Once ready, use this documentation to file your claim following the proper process
Communication Tips
When submitting documentation:
- Use certified mail or documented delivery
- Reference claim number on all materials
- Provide digital copy via insurer’s online portal
- Keep copies for your records
- Request written acknowledgment of receipt
Personal tip: When you submit your documentation package, always send it both ways — upload it to the insurer’s online portal and mail a physical copy via certified mail. I’ve seen claims where the insurer “lost” the digital upload, and the certified mail receipt was the only proof the homeowner submitted on time. Belt and suspenders, every time.
FAQ: Water Damage Documentation for Insurance
Q: Should I take photos before cleaning up water damage? A: Absolutely. Always photograph damage before cleanup, repairs, or removal of items. Cleanup photos can supplement initial documentation but shouldn’t replace pre-cleanup images.
Q: Can my insurance company deny my claim if my photos aren’t professional quality? A: No, but poor documentation invites low settlement offers. Clear, comprehensive documentation supports your claim and prevents disputes about damage extent.
Q: Do I need to hire a professional to document water damage? A: Not required, but professional water damage assessment reports strengthen claims. You can get professional estimates to support your documentation at no cost. Many experts can document damage comprehensively in 2-4 hours for $300-600.
Q: What if I don’t have original receipts for damaged items? A: Create alternative proof of value using credit card statements, online purchase confirmations, similar item pricing, or appraisals. The absence of receipts doesn’t prevent claim approval if you can establish value other ways.
Q: Can my smartphone photos be used as insurance documentation? A: Yes. Smartphone camera quality is adequate for insurance documentation. Ensure good lighting, focus, and date stamps are visible.
Documentation excellence ensures maximum claim payouts and faster resolution. Our team provides professional water damage assessment and documentation services. Let us handle comprehensive documentation while you focus on recovery. Contact us for documentation support or claim assistance.
Disclaimer: This article is for informational purposes only and does not constitute professional advice. Every water damage situation is unique. Always consult a licensed contractor or restoration professional for your specific situation. If you’re dealing with an emergency, contact your local restoration company immediately.