How to Fix Water Damaged Door Frame and Trim: Professional Repair Guide
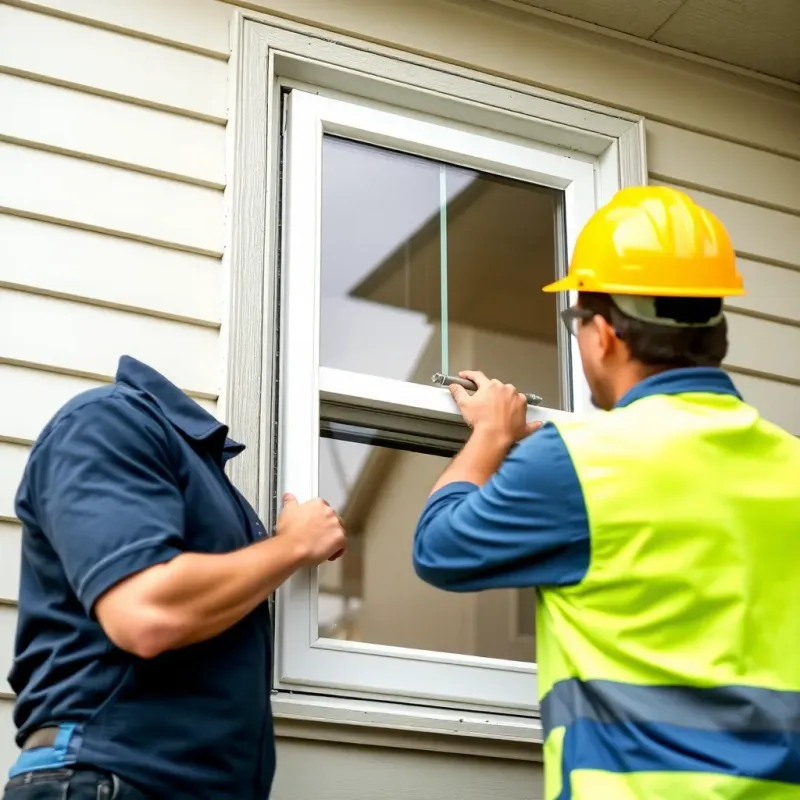
Door frames and trim absorb water like sponges, making them particularly vulnerable to water damage. Whether your damage results from a burst pipe, roof leak, or rising moisture, water-damaged door frames compromise both the structural integrity of your door opening and the appearance of your home. This comprehensive guide walks you through assessing damage, deciding whether to repair or replace, and executing professional-quality repairs.
Key Takeaway: Door frame damage concentrates at the base and exposed end grain where water pools and absorbs fastest — epoxy wood filler provides the most durable repair for these areas, but if the wood is soft enough to indent with your thumbnail, that section needs to be cut away and replaced entirely.
Understanding Water Damaged Door Frames and Trim
Why Door Frames Are Vulnerable to Water Damage
Door frames and trim are particularly susceptible to water damage because they’re installed with precision cuts that create grain exposure on all surfaces. The exposed grain at corners, joints, and edges allows water to penetrate the wood fibers rapidly. Unlike other wooden structural elements with protective finishes, door trim is typically only finished on visible surfaces.
Additionally, door frames are positioned in high-traffic areas where they experience temperature and humidity fluctuations that accelerate water absorption and wood movement.
Types of Water Damage in Door Frames
Surface swelling occurs when wood absorbs moisture and expands. This is evident as a puffy appearance at the joint or a door that no longer closes properly. Surface swelling can sometimes be reversed if the wood is dried quickly.
Soft wood and crushing damage indicates the wood fibers have begun to break down. When you press on damaged wood with your thumbnail, it indents easily or even feels mushy. This structural damage cannot be reversed.
Rot and decay represents advanced deterioration where wood-destroying fungi have colonized the wood structure. Rotted wood is soft, crumbly, and often dark. This wood has lost structural capacity and must be replaced.
Veneer and finish damage affects the visible surfaces. Veneer may separate, peel, or bubble. Finish damage allows water to continue penetrating the substrate.
Joint failure occurs when water weakens the connections between frame pieces. Mortise and tenon joints or dowel connections may separate, causing the frame to become loose or unstable.
Assessing Door Frame Water Damage
A thorough assessment determines whether repair is feasible or replacement is necessary.
Visual Assessment
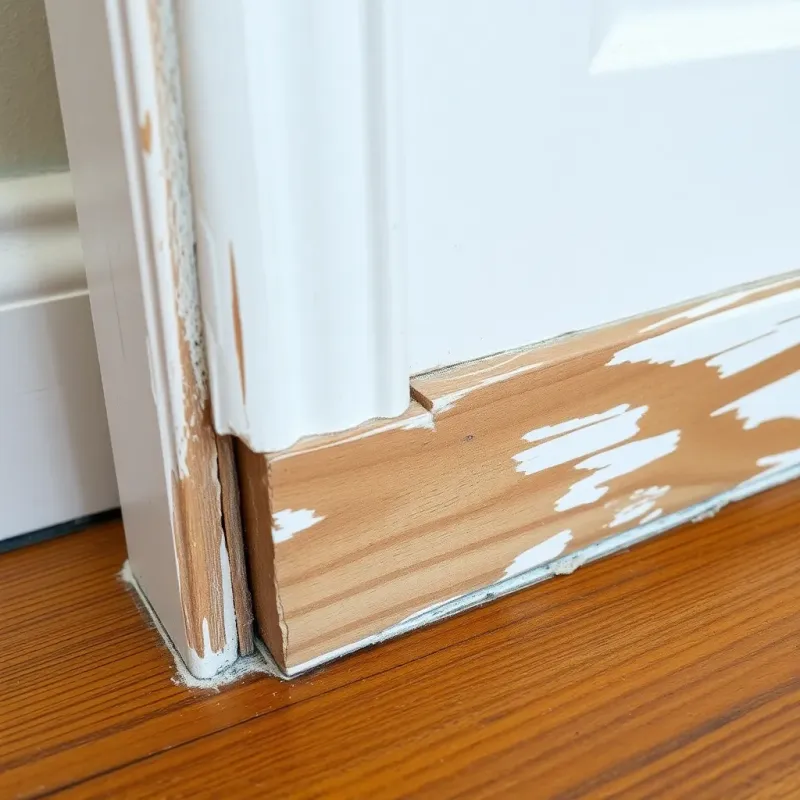
Examine all sides of the frame, looking for visible damage including swelling, discoloration, peeling paint or stain, and soft spots. Pay particular attention to corners and joints where moisture accumulates.
Check the threshold and the base of the frame where water typically pools. This area is most likely to show advanced damage.
Inspect the surrounding drywall or plaster. Water stains on walls indicate the water damage may extend beyond what’s visible on the frame itself.
Structural Testing
Press test: Gently press on suspect areas with your thumbnail. Healthy wood resists indentation. If your thumbnail easily presses into the wood, that area has deteriorated.
Sound test: Tap the frame with a hammer or screwdriver handle. A solid sound indicates healthy wood. A dull thud suggests water-logged wood. Hollow or cracking sounds indicate structural damage.
Movement test: Gently grasp the frame and attempt to move it. Frames should be rock-solid. Any movement indicates structural problems at joints or connections.
Appearance test: Look for dark stains, particularly around joints and at the base, which indicate mold or advanced water damage.
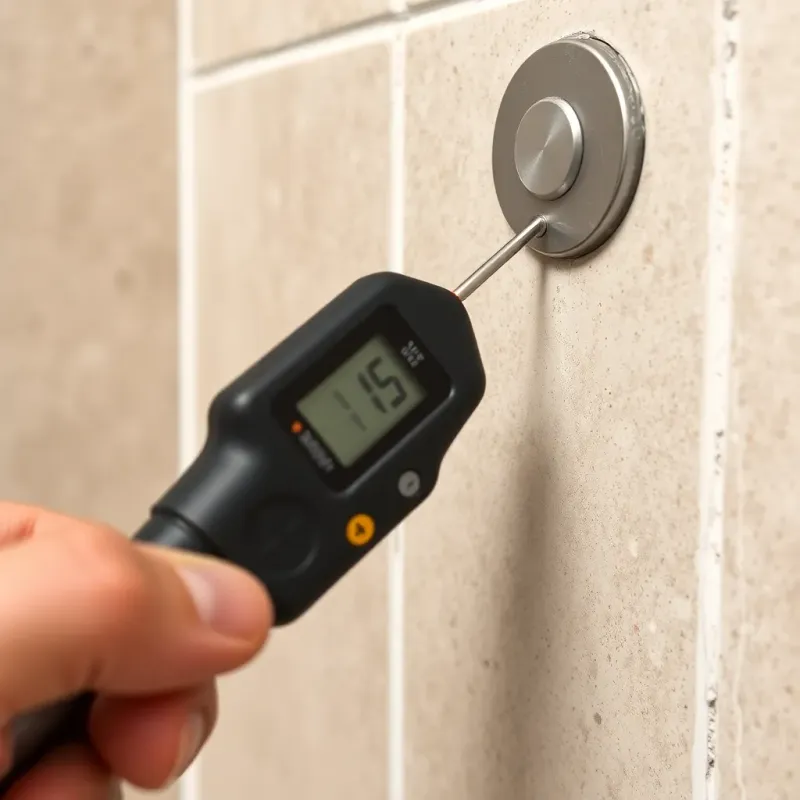
Moisture Testing
If available, use a moisture meter to measure wood moisture content. Healthy wood reads 8-12% moisture. Readings above 15% indicate significant moisture absorption and risk for mold. Readings above 20% indicate advanced damage.

Repair Versus Replace Decision
Understanding your options helps you make the most economical decision.
When to Repair
Repair is viable when:
- Damage is surface-level: Only finish or veneer is affected, not the structural wood
- The frame is structurally sound: Joints are intact and the frame maintains integrity
- Moisture content is under 20%: The wood can be dried and stabilized
- Damage is limited to small areas: A single area or one side of the frame can be repaired
- The frame has aesthetic or historical value: Custom millwork or vintage frames are worth preserving
- Repair cost is less than 60% of replacement: If the door and frame together cost $800 to replace, repair becomes economical around $480
When to Replace
Replacement is the better choice when:
- Structural damage is extensive: The frame is cracked, separated at joints, or unstable
- Rot is present: Wood-destroying fungi have deteriorated the structure
- Damage affects multiple sides of the frame: If more than one side has deep damage, repair becomes difficult
- The door is old and replacement makes sense anyway: If you’re upgrading your door, replace the frame simultaneously
- Water damage was prolonged: Extended moisture exposure that occurred weeks or months ago likely involved mold development
Replacement is also preferable when you want to upgrade to modern doors with better insulation, security features, or aesthetic appeal.
Step-by-Step Door Frame Repair
Preparation and Drying
Before beginning repairs, ensure the underlying water source has been addressed. Repairing a door frame while water continues entering is futile.
Dry the frame thoroughly. This may take several weeks. Follow our room drying guide and use fans, dehumidifiers, and ventilation to accelerate drying. Don’t proceed with repairs until moisture readings are consistently below 15%.
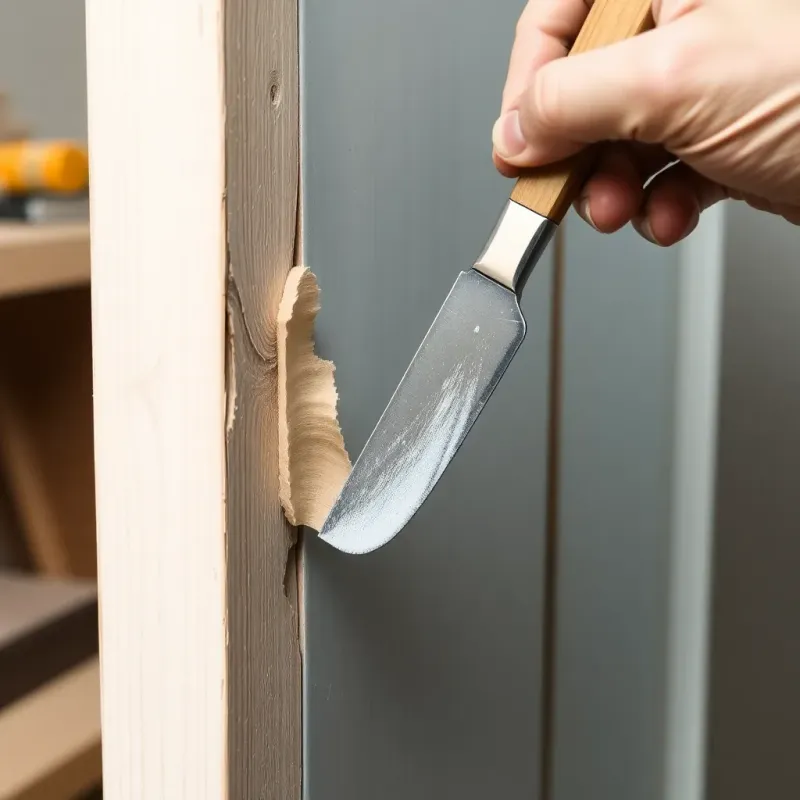
Removing Damaged Material
Using a utility knife or wood chisel, carefully remove all soft, damaged, or mushy wood. Cut into healthy wood if necessary—it’s better to remove too much soft material than to leave deteriorated wood that will continue failing.
For veneer damage, carefully peel away any loose or separating veneer. You may need to inject glue under some areas to reglue them, or remove them completely for replacement.
Wood Repair Methods
For small damaged areas, use epoxy wood filler designed for exterior applications. These two-part fillers bond with surrounding wood fibers and harden to almost wood-like hardness. Mix and apply according to product directions, slightly overfilling the area. After hardening, sand flush with surrounding wood.
For larger damaged areas, you may need to create a wooden insert. Cut a block of matching wood to fit the damaged area, accounting for wood movement. Glue the insert using waterproof wood glue (like Titebond III) and secure it with wooden dowels or mortise and tenon joinery. Once the glue cures, plane and sand the insert flush with surrounding surfaces.
For damaged ends of wood, where grain is exposed, seal the end grain with epoxy or wood sealer before refinishing. Exposed grain is the primary pathway for water penetration. One lesson I’ve learned helping homeowners is that sealing the end grain is the single most important step people skip during door frame repairs. The end grain absorbs water like a straw, and leaving it unsealed virtually guarantees the damage will return.
For joint separation, disassemble the joint if possible, clean away old glue and debris, and rejoin using waterproof wood glue. Clamp overnight and wipe away excess glue before it hardens.
Veneer Replacement
If veneer cannot be reglued, you may need to replace it. Using a router with a core box or roundover bit, carefully remove damaged veneer down to the substrate.
Cut replacement veneer to fit the area, accounting for grain direction and color matching. Glue the new veneer using waterproof wood glue, clamping overnight.
Once cured, sand the new veneer flush and prepare it for finishing.
Wood Filler Techniques
Choosing the right wood filler ensures lasting repairs.
Types of Wood Fillers
Two-part epoxy fillers are the most durable option for water-damaged frames. They bond permanently with wood, accept stain and paint, and resist further water infiltration. Popular products include Bondo Wood Filler and Elmer’s Carpenter’s Wood Filler.
Water-based fillers are easier to work with but less durable. They shrink as they dry and may not accept stain evenly. These work for cosmetic repairs but aren’t ideal for structural repairs in water-prone areas.
Exterior wood fillers are specifically formulated for outdoor exposure. These resist water and UV damage better than general-purpose fillers.
Filler Application Technique
Slightly overfill the damaged area, allowing filler to extend above the surrounding surface. This accounts for shrinkage and makes sanding to flush easier.
For two-part epoxy, mix only as much as you can apply in 20-30 minutes. Work quickly and pack the filler firmly into the damaged area.
Allow filler to cure fully per manufacturer directions (usually 24 hours) before sanding. Use progressively finer sandpaper grits (80, 120, 150, 220) to create a smooth surface accepting stain evenly.
Grain Matching
After sanding, the filler may look noticeably different from surrounding wood. Staining or painting creates color uniformity. Even with staining, some color variation may be visible, but good finishing technique minimizes this.
For naturally-finished doors, consider staining the entire frame to achieve uniform color. For painted frames, paint the repair and blend it carefully with surrounding paint.
Painting and Finishing Water-Repaired Frames
Proper finishing is crucial for protecting repaired frames from future water damage.
Surface Preparation
Sand all repaired areas and surrounding frame surfaces to create a uniform texture. This ensures finish adheres evenly and makes color uniform.
Fill any gaps or joints with paintable caulk, particularly where the frame meets the wall or threshold.
Prime bare wood with a quality exterior or interior primer, depending on the frame’s location. Primer seals the wood and prepares it for finish.
Paint Selection
Use high-quality paint designed for trim and doors. For bathrooms or kitchens, consider semi-gloss or satin finish, which resists moisture better than flat finishes.
For exterior doors, use paint formulated for exterior wood, which resists UV damage and moisture better than interior paint.
For natural wood finishes, use exterior-rated polyurethane or spar varnish, which flex slightly with wood movement while providing water protection.
Application Technique
Apply paint in thin, even coats, allowing proper drying time between coats. Most trim paint requires 4 hours to overnight between coats.
Apply at least two coats of paint. Three coats is ideal for maximum durability and coverage.
For natural finishes, apply at least two coats of polyurethane or varnish, sanding lightly with 220-grit sandpaper between coats.
Protecting End Grain
End grain—exposed wood at corners and edges—absorbs water readily. After sanding and before primer, seal all end grain with wood sealer or thinned paint. This substantially reduces water infiltration.
Preventing Future Door Frame Water Damage
Proper Installation and Sealing
Ensure door frames are installed on a proper threshold that slopes slightly outward to shed water. The threshold and frame base should be sealed with waterproof caulk.
For exterior doors, install flashing above the frame to direct water away from the wall and frame surface.
Maintenance
Inspect door frames annually for signs of wear, damage, or peeling finish. Repaint or refinish before water penetration occurs.
Keep gutters and downspouts clean and functional. Water flowing over the side of gutters can run down the wall and pool at door frames.
Repair any cracks in caulk immediately, as these allow water to seep into the frame.
Environmental Control
For interior frames (like bathroom doors), ensure adequate ventilation to minimize humidity that can cause wood swelling and condensation on frames.
For basement doors or doors in damp areas, use moisture barriers and ensure grading slopes away from the building to minimize water pooling near door frames.
FAQ: Water Damaged Door Frame and Trim Repair
Q: How can I tell if door frame damage is from water or from a structural issue?
A: Water damage typically shows swelling that makes doors stick or not close properly, soft spots that indent easily, and musty smells. The damage is usually concentrated at lower areas where water drains. Structural damage from settling or impact typically shows cracks radiating from corners or damage concentrated in one spot where impact occurred. Water damage usually affects the base and edges most severely.
Q: Can I use regular wood filler for water-damaged door frames?
A: Regular wood filler works for cosmetic repairs but doesn’t provide lasting water protection in moisture-prone areas. For water-damaged frames, especially near sinks, bathrooms, or exterior doors, use epoxy or exterior-rated wood filler that won’t deteriorate if water exposure recurs.
Q: How long does a repaired door frame last?
A: A properly repaired door frame with quality materials and finishing should last 10-20 years before needing refinishing. If the water source is controlled and the frame is maintained with proper finish application, it can last even longer. Epoxy repairs are more durable than wooden repairs, making them ideal for previously water-damaged areas.
Q: Is door frame water damage covered by homeowner’s insurance?
A: This depends on the cause and your policy. Damage from sudden events like burst pipes or roof leaks is typically covered by homeowners insurance. Damage from gradual water intrusion or maintenance failures (like failed caulk or poor ventilation) is usually not covered. Review your specific policy or consult your agent to understand your coverage.
Q: How much does professional door frame repair or replacement cost?
A: Professional repair of a single door frame costs $200-800 depending on damage extent. Full frame replacement with new door costs $1,500-4,000 depending on door quality and whether the frame must be extended for new wall thickness. DIY repair costs $50-200 in materials but requires significant skill for professional-looking results.
Conclusion
Water-damaged door frames and trim don’t necessarily require complete replacement. With proper assessment, strategic repairs using appropriate materials, and professional finishing, many water-damaged frames can be restored to functionality and appearance. The key is addressing the underlying water source, drying the wood thoroughly, and using quality materials that resist future water penetration.
Whether you choose to repair or replace depends on damage extent, the frame’s value, and your budget. In either case, protecting the frame with quality paint or finish and maintaining proper sealing prevents future problems.
For frames with extensive rot, structural damage, or when you’re uncertain about water source resolution, consulting with a professional water damage restoration company ensures the problem is properly addressed before cosmetic repairs are completed. See our restoration cost guide for typical pricing.
Disclaimer: This article is for informational purposes only and does not constitute professional advice. Every water damage situation is unique. Always consult a licensed contractor or restoration professional for your specific situation. If you’re dealing with an emergency, contact your local restoration company immediately.