Introduction
Laminate flooring appeals to homeowners for its affordability, durability, and low-maintenance benefits. However, its construction—layered materials bonded together—creates a significant vulnerability: water damage. Unlike solid hardwood that can potentially recover through drying, laminate’s composite structure means water damage is often permanent and non-reversible.
Understanding how water affects laminate flooring, recognizing damage types, and knowing when repair is possible versus when replacement is necessary helps you make informed decisions after water damage occurs. This comprehensive guide covers everything you need to know about managing water-damaged laminate flooring.
Key Takeaway: Unlike hardwood, laminate flooring cannot recover once its HDF core absorbs water and swells — the first 24 hours are critical, and if visible swelling or delamination has already occurred, replacement rather than repair is almost always necessary.
Understanding Laminate Floor Construction and Water Vulnerability
How Laminate Flooring is Made
Laminate flooring consists of multiple layers:
Top Layer: Wear Layer
- Clear protective coating
- Resists scratches and stains
- Does NOT provide water protection
- Failure to repair water damage immediately allows water to penetrate
Decorative Layer
- High-resolution printed image
- Creates wood or stone appearance
- Highly susceptible to water damage
- Cannot be repaired if water-damaged
Core Layer (HDF - High-Density Fiberboard)
- Main structural component
- Extremely water-sensitive
- Swells rapidly when wet
- Buckles and warps as it absorbs moisture
- Delamination occurs as water weakens adhesive
Backing Layer
- Provides stability
- Also absorbs water and swells
- Creates pressure as it expands
- Contributes to buckling and separation
Why Laminate Is Vulnerable to Water
This construction makes laminate particularly water-susceptible because:
- Water easily penetrates tiny gaps between boards
- Once water reaches core material, swelling begins rapidly
- Adhesives holding layers together dissolve in water
- Swelling creates pressure forcing layers apart (delamination)
- Unlike solid wood, laminate cannot dry back to original dimensions
- Water damage is often permanent and irreversible
This vulnerability means prompt action is essential when water damage occurs.
Types of Laminate Water Damage
Minor Water Exposure (Surface Moisture)
This represents the least serious situation and may be repairable:
Characteristics:
- Water on surface only
- No visible swelling
- No discoloration penetrating layers
- Quick cleanup after spill
- Moisture content elevated but not deeply penetrated
Salvageability: Often salvageable if dried quickly and thoroughly
Treatment: Aggressive drying with dehumidifiers and air movers
Moderate Water Damage (Partial Board Saturation)
This represents intermediate damage where partial board replacement is often necessary:
Characteristics:
- Visible swelling in affected boards
- Water line visible on baseboards
- Discoloration showing water penetration
- Soft spots when pressed
- Buckling visible but localized to specific areas
- Delamination beginning (visible separation at edges)
Salvageability: Partial salvage possible through board replacement
Treatment: Remove and replace affected boards, dry remaining flooring
Severe Water Damage (Complete Saturation)
This represents worst-case scenarios where replacement is typically necessary:
Characteristics:
- Widespread swelling across multiple boards
- Significant buckling and movement
- Complete color changes and staining
- Soft, spongy flooring
- Obvious delamination (layers visibly separating)
- Mold or mildew growth visible
- Musty odors
- Visible water lines well beyond initial spill area
Salvageability: Rarely salvageable; replacement usually necessary
Treatment: Complete flooring replacement

Step 1: Immediate Response to Water Exposure
Act Within the Critical First Hours
The first 24 hours after water exposure determine whether laminate can be saved:
Immediately After Discovery:
- Stop the water source - Fix the leak, shut off water valve, or redirect water away from the floor
- Extract standing water - Use wet vacuums and mops to remove all water
- Increase air circulation - Open windows and doors (weather permitting)
- Deploy fans - Position box fans and portable fans to circulate air across the floor
- Deploy dehumidifiers - Begin removing moisture from air immediately. See our guide on how to dry out a room after water damage for optimal equipment placement
- Mop and dry - Repeatedly mop the surface to remove water
- Check underneath - If possible, check subfloor for water accumulation
Dry Under the Flooring
Water often travels beneath laminate, causing hidden damage:
Accessing Subfloor:
- If the laminate is floating (not glued down), lift edges carefully to check underneath
- Insert moisture meters into gaps to measure subfloor moisture levels
- Dry under the flooring with fans directed at the subfloor surface
- Use dehumidifiers to dry enclosed spaces under flooring
The faster you remove water from under the flooring, the better chance of salvage.
Step 2: Assess Damage Severity
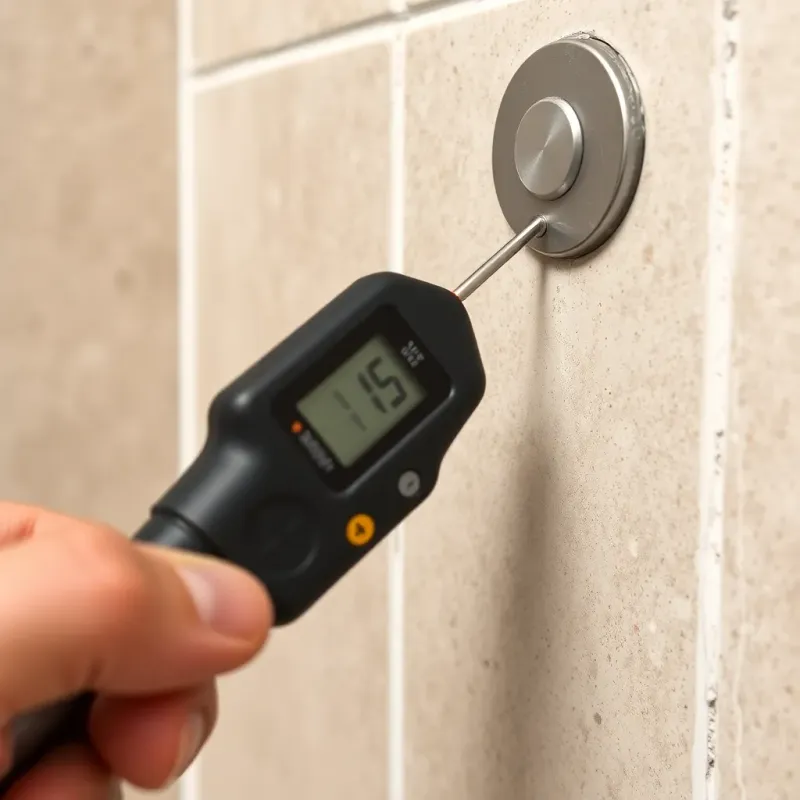
Moisture Reading Assessment
Professional moisture meters provide objective damage assessment:
Moisture Content Levels:
- Below 12%: Safe level, damage minimal
- 12-15%: Elevated, drying may prevent permanent damage
- 15-20%: Significant, swelling may occur but drying possible
- 20%+: Severe, permanent damage likely
Readings above 15% indicate significant risk of permanent damage.
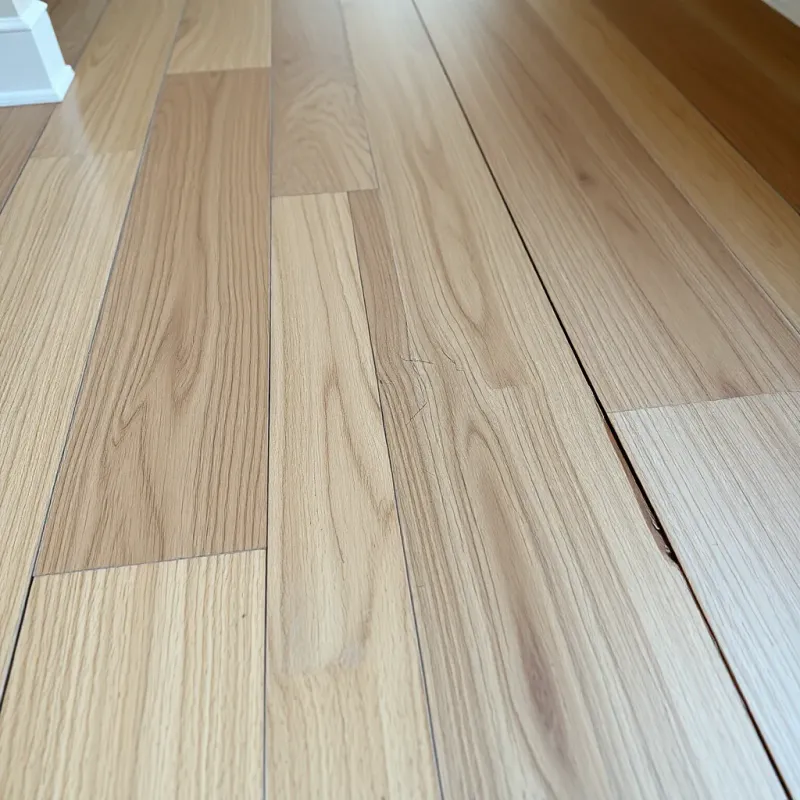
Visual Inspection
Examine the flooring for damage indicators:
Minor Damage Signs:
- Slight discoloration
- Minimal swelling
- No buckling visible
- No delamination at seams
- Boards still lie flat
Moderate Damage Signs:
- Clear discoloration throughout boards
- Noticeable swelling (boards rounded)
- Beginning buckling
- Slight delamination at board edges
- Height difference between boards
Severe Damage Signs:
- Dark staining throughout
- Severe swelling (¼ inch or more)
- Obvious buckling and ridges
- Visible delamination and separation
- Soft spots when pressed
- Mold or mildew visible
- Musty odor
Subfloor Assessment
Check subfloor condition:
- Moisture content of subfloor material
- Structural integrity and softness
- Mold or mildew growth signs
- Cupping or warping of subfloor
Damaged subfloors require replacement before new flooring installation. Follow our subfloor repair guide for detailed instructions.
Step 3: Repair vs. Replace Decision
Can Your Laminate Be Repaired?
Repair is Possible When:
- Water damage is limited to a few boards
- Moisture readings are below 15%
- Drying occurred within 24 hours
- No delamination is visible
- Subfloor is undamaged
- No mold growth is present
Replacement is Necessary When:
- Moisture readings exceed 20%
- Swelling or buckling is visible
- Delamination has occurred
- Affected area exceeds 25% of flooring
- Subfloor damage is present
- Mold or mildew is visible
- Water exposure lasted more than 48 hours
Step 4: Repairing Minor Water Damage
Dry Aggressively
When repair is possible, drying is your only option:
Drying Equipment:
- Commercial-grade dehumidifiers (20+ gallon capacity daily)
- Multiple air movers creating surface air circulation
- Moisture monitoring daily to track progress
- Fans creating cross-ventilation
Drying Timeline:
- Initial drying: 24-48 hours
- Full drying: 5-14 days depending on humidity and temperature
- Continuous equipment operation necessary
- Professional assessment determines when drying is complete
Remove Baseboards and Trim
Water travels under baseboards and trim:
- Remove baseboards to allow air circulation
- Dry wall bases and flooring edge areas
- This improves drying efficiency significantly
Moisture Verification
Before considering drying complete:
- Take moisture readings in multiple locations
- Readings should be below 12% before flooring is fully dry
- Check under boards if possible
- Professional meters more reliable than homeowner equipment
Limitations of Repair
One lesson I’ve learned helping homeowners is that laminate flooring gives you a very narrow window to act. Unlike hardwood, which can sometimes be dried over two weeks and saved, laminate’s HDF core starts swelling irreversibly within hours. If you catch it immediately and get fans and dehumidifiers running right away, you have a chance — but if you discover the damage a day later, you should plan for replacement rather than waste money on drying efforts.
Be realistic about repair possibilities. Even “successful” drying often leaves laminate with:
- Permanent discoloration
- Slight swelling that doesn’t fully reverse
- Structural weakness where water penetrated
- Vulnerability to future issues
Cosmetic appearance may not fully recover even if water damage is arrested.
Step 5: Replacing Water-Damaged Boards
When Spot Replacement is Possible
For moderate damage affecting limited boards, replacement of individual boards may be practical:
Laminate Board Removal:
- Identify affected boards - Mark all boards showing water damage
- Remove baseboards at affected area edges
- Cut removal line using circular saw at edge of damage zone
- Pry up damaged boards carefully to avoid damaging adjacent boards
- Remove all nails and underlayment from subfloor
- Inspect subfloor and dry if needed
Installing Replacement Boards
Board Selection:
- Match existing laminate manufacturer and product if possible
- Thickness must match existing flooring
- Allow replacement boards to acclimate 24-48 hours before installation
- Stagger board seams for structural integrity
Installation:
- Install replacement underlayment if original is damaged
- Fit boards together using tongue-and-groove connections
- Use laminate flooring staples or adhesive per manufacturer specs
- Ensure boards are level and properly aligned
- Reinstall baseboards
Limitations of Spot Repair
Even successful board replacement often shows:
- Color variation between old and new boards
- Visible repair line where old meets new
- Possible alignment issues at repair area
- Structural weakness at replacement seam
Complete flooring replacement may provide better long-term results.
Step 6: Complete Flooring Replacement
When Replacement is Necessary
Large areas of damage, severe saturation, subfloor damage, or extensive delamination warrant complete replacement.
Preparation for Replacement
- Remove all flooring - Remove damaged laminate completely
- Assess subfloor - Repair or replace subfloor as needed
- Dry thoroughly - Ensure subfloor moisture is below 15%
- Clean subfloor - Remove all debris and old underlayment
- Install new underlayment - Moisture-resistant underlayment adds protection
- Acclimate new flooring - Allow 48-72 hours for acclimation
Installation of New Laminate
Professional installation ensures:
- Proper expansion gaps at walls and transitions
- Appropriate acclimation before installation
- Correct underlay installation
- Proper seam placement and stability
- Quality finish avoiding future water vulnerability
Prevention Strategies for Laminate Flooring
Immediate Spill Response
The most important prevention is rapid response to spills:
- Wipe up water immediately (within minutes, not hours)
- Check under baseboards for moisture
- Use dehumidifier after large spills
- Allow area to dry completely before foot traffic
Moisture Control
Maintain home humidity in 30-50% range:
- Install dehumidifiers in damp areas
- Run bathroom exhaust fans during showers
- Ensure kitchen fan operation during cooking
- Maintain proper HVAC function
Protect Vulnerable Areas
Install moisture barriers in high-risk areas:
- Use protective mats in entryways and kitchens
- Use absorbent rugs in laundry room areas
- Install splash guards near sinks
- Keep bathroom doors closed during showers
Floor Protection Products
Some specialty products offer additional protection:
- Water-resistant underlayment adds protection
- Moisture barriers under flooring reduce subfloor exposure
- Protective sealers for seams (limited effectiveness)
- However, no product makes laminate fully waterproof
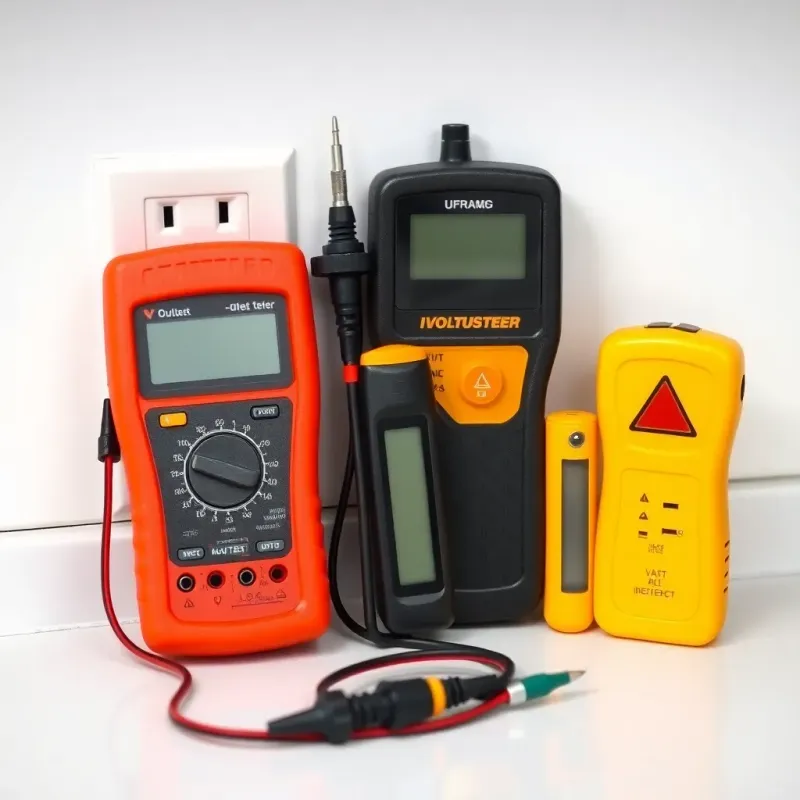
Proactive Leak Detection
Prevent water damage before it happens:
- Install water leak detection systems
- Fix plumbing leaks immediately
- Inspect roof and gutters regularly
- Check basement for seepage
- Monitor appliances for leaks
FAQ: Laminate Floor Water Damage Repair
Q: Is water-damaged laminate flooring salvageable? A: Minor water damage caught within hours may be salvageable through aggressive drying. Once swelling is visible or 24+ hours have passed, permanent damage is likely. Once delamination occurs, the laminate cannot be saved and must be replaced.
Q: How quickly does laminate swell after water exposure? A: Laminate can begin visibly swelling within 1-2 hours of water exposure, depending on water temperature and exposure method. After 24 hours, permanent damage is very likely. This is why immediate action is so critical.
Q: Can I repair just the affected boards instead of replacing all flooring? A: Spot repair of individual boards is possible in limited damage situations, but results often show visible repair lines and color variations. This approach works for 1-3 boards; larger affected areas justify complete replacement.
Q: What should I do if my laminate floor water damage was caused by flooding? A: Flooring exposed to standing water or flooding should almost always be replaced entirely. Floodwater often carries contamination, makes complete drying impossible, and creates hidden moisture pockets. Insurance typically covers certain types of flood damage. Contact your insurer and professional restoration companies.
Q: Can I prevent water damage to laminate flooring? A: While no product makes laminate completely waterproof, you can reduce risk through immediate spill cleanup, moisture control, protective mats, and addressing leaks quickly. However, laminate’s water vulnerability means it’s not the best choice for kitchens, bathrooms, or basements.
Conclusion
Water-damaged laminate flooring presents a challenging situation because laminate’s composite construction makes it highly water-sensitive and difficult to repair. The key to managing water damage is understanding that rapid response in the first 24 hours is critical, and that many situations ultimately require complete flooring replacement rather than repair.
By acting immediately when water exposure occurs, properly assessing damage severity, and making realistic decisions about repair versus replacement, you can address water damage efficiently and prevent future problems. Consider this experience an opportunity to evaluate whether laminate remains the best flooring choice for your home, particularly in areas prone to moisture exposure.
Prevention through immediate spill cleanup, moisture control, and protective measures offers the best defense against laminate water damage in the future.
Disclaimer: This article is for informational purposes only and does not constitute professional advice. Every water damage situation is unique. Always consult a licensed contractor or restoration professional for your specific situation. If you’re dealing with an emergency, contact your local restoration company immediately.