Introduction
Bathrooms are the most water-intensive rooms in any home, making them the primary source of water damage. The statistics are telling: approximately 40% of water damage claims originate from bathroom leaks and moisture issues. The good news? Most bathroom water damage is entirely preventable through proper maintenance and attention to vulnerable areas.
This comprehensive checklist and prevention guide provides everything you need to protect your bathroom from water damage, from proper caulking techniques to ventilation optimization and fixture maintenance.
Key Takeaway: Consistent, small maintenance habits matter far more than expensive products—running your exhaust fan for 30 minutes after every shower and inspecting caulk quarterly will prevent the vast majority of bathroom water damage.
Understanding Bathroom Water Damage Risks
Why Bathrooms Are High-Risk Areas
Bathrooms combine multiple water damage risk factors:
Constant moisture exposure:
- Showers and tubs create intense moisture environments
- Water splashes onto walls, floors, and ceilings
- Steam from hot water promotes condensation
- Moisture lingers long after use
Hidden water penetration:
- Grout lines trap water behind visible surfaces
- Caulk deteriorates allowing subsurface water seepage
- Water travels between wall cavities unseen
- Flooring allows water to migrate underneath
Common failure points:
- Shower/tub enclosure seams and joints
- Tile grout disintegration
- Caulk separation and gaps
- Fixture penetrations through walls
- Ventilation system failures
- Sub-floor moisture accumulation
- Wall studs and substructure deterioration
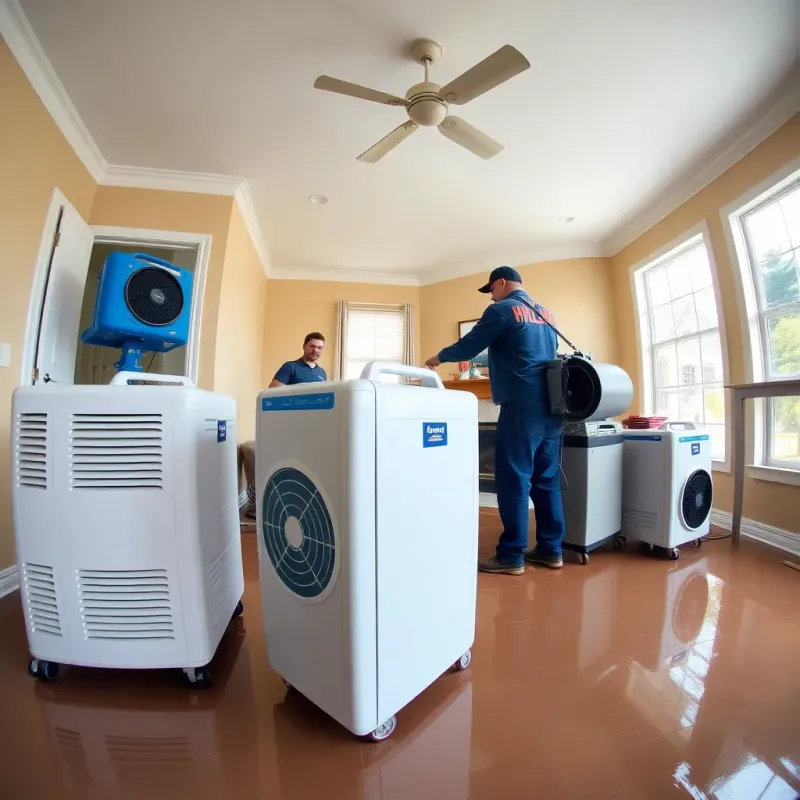
Escalation speed: Water damage in bathrooms progresses rapidly because of constant moisture. Mold develops within 48 hours, and structural damage accelerates in this consistently damp environment. Follow our mold prevention guide after water damage if you discover moisture issues.
Mastering Caulking and Grout Maintenance
Understanding the Difference
Caulk: A flexible sealant applied to joints and seams, particularly where different materials meet. Caulk maintains flexibility to accommodate movement.
Grout: A rigid material applied between tiles, designed to fill gaps but not to create a waterproof seal on its own. Grout requires sealing.
Both require regular maintenance and replacement to prevent water intrusion.
Caulk Inspection and Replacement
How often caulk fails:
- Quality bathroom caulk lasts 3-5 years
- High-moisture areas fail faster
- Improper application reduces lifespan
- UV exposure degrades caulk (natural light bathrooms)
- Cleaning products can damage certain caulks
Signs caulk needs replacement:
- Visible cracks or gaps
- Separation from tile or surface
- Discoloration or staining
- Mold or mildew visible (black spots)
- Spongy or deteriorated texture
- Water passing through joints
Caulk replacement process:
1. Remove old caulk:
- Use a caulk removal tool or utility knife
- Cut along the edge of deteriorated caulk
- Use caulk softener for stubborn material
- Clean surface thoroughly with cleaner and dry completely
2. Select appropriate caulk:
- Silicone caulk: Most durable (lasts 5-7 years), requires mineral spirits for cleanup, excellent water resistance
- Acrylic latex caulk: Budget-friendly, paintable, less durable, better for low-moisture areas
- Hybrid caulks: Mid-range pricing, good durability, easier cleanup than silicone
- Avoid generic white caulk: Buy premium bathroom-specific products
3. Apply new caulk:
- Use caulk gun for controlled application
- Apply continuous bead along entire joint
- Smooth with caulk tool or wet finger
- Remove excess with damp rag immediately
- Allow proper cure time before water exposure (typically 24 hours)
4. Caulk application best practices:
- Apply caulk when bathroom is dry
- Ensure surface is clean and debris-free
- Use painter’s tape on both sides for clean lines
- Apply steady pressure on gun trigger
- Maintain consistent bead width
- Never caulk over mold—remove and treat first
In my experience working with homeowners, the most common caulking mistake is applying new caulk over old, deteriorated caulk. It never bonds properly and will peel within months. Always remove every trace of old caulk before applying new material—this single step makes the difference between a seal that lasts five years and one that fails in five months.
Grout Sealing and Maintenance
Grout sealing process:
Penetrating sealers:
- Absorb into grout protecting from within
- Last 3-5 years before resealing needed
- Less visible than membrane sealers
- Best for most residential bathrooms
Application steps:
- Clean grout lines thoroughly (remove soap scum, mildew)
- Allow 48-72 hours after grouting before sealing
- Apply sealer with brush following product instructions
- Wipe excess immediately to avoid haze
- Allow full cure time (typically 24-48 hours)
Grout maintenance between sealing:
- Clean regularly with pH-neutral cleaner
- Avoid acidic cleaners that damage grout
- Dry after shower use to minimize moisture
- Address mold immediately with appropriate cleaner

Ventilation System Optimization
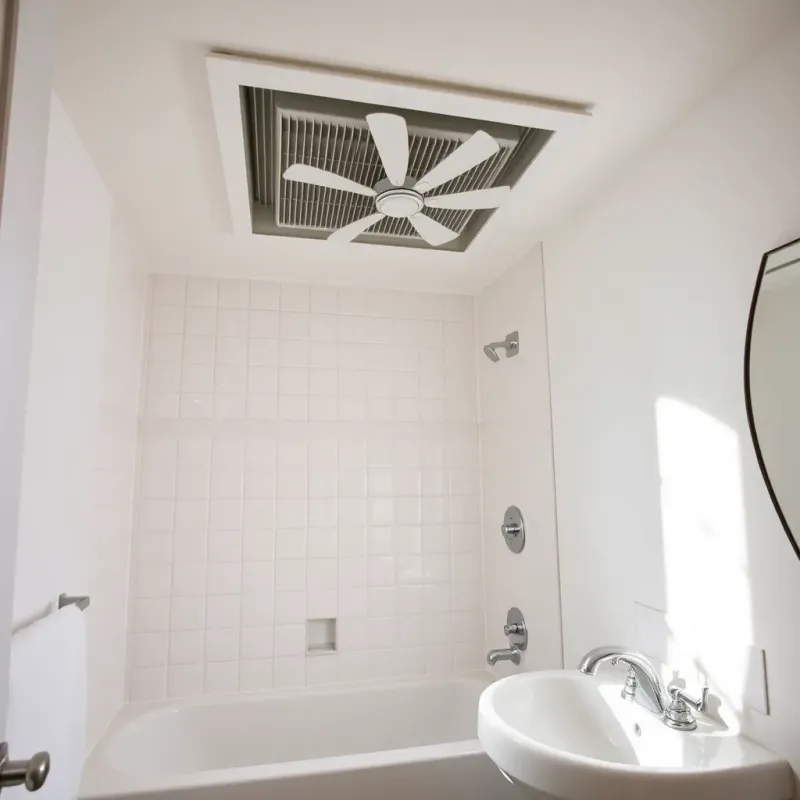
Why Bathroom Ventilation Matters
Bathroom moisture must escape. Without proper ventilation:
- Humidity builds in walls and ceilings
- Drywall absorbs moisture and deteriorates
- Mold grows within wall cavities
- Condensation promotes damage unseen
- Other rooms become damp
Target humidity: Bathrooms should return to 30-50% humidity within 30 minutes of shower use. Excessive humidity indicates ventilation problems.
Exhaust Fan Installation and Maintenance
Sizing your exhaust fan:
- Calculate bathroom square footage
- Rule of thumb: 1 CFM (cubic feet per minute) per square foot
- Minimum 50 CFM even for small bathrooms
- Add 25% if ventilating toilet area
- Example: 100 sq ft bathroom needs minimum 100-125 CFM fan
Installation for maximum effectiveness:
- Install fan directly above moisture source (shower/tub)
- Ductwork should be sealed and insulated
- Duct should exhaust outside (not to attic)
- Minimize ductwork length and bends
- Ensure damper valve prevents backdraft
- Install makeup air source if bathroom feels stuffy
Regular maintenance:
- Clean fan grilles monthly (buildup blocks airflow)
- Inspect ductwork for damage or disconnection
- Verify damper opens and closes freely
- Listen for unusual fan noises indicating motor problems
- Replace fan motor if noisy (typically 10-15 year lifespan)
- Test damper at exterior vent for proper function
Ventilation schedule:
- Run fan during shower and 30 minutes after
- Run continuously if bathroom extremely humid
- Install timer if occupants forget
- Consider humidity-sensing fans (automatically activate when needed)
Window Ventilation
Natural ventilation benefits:
- Open windows during/after showers
- Cross-ventilation more effective than exhaust fan alone
- Reduces reliance on mechanical systems
- Provides fresh outside air
Challenges:
- Weather dependent (can’t open in winter)
- Reduces energy efficiency
- Not reliable for consistent moisture removal
- Supplement with exhaust fan
Fixture Inspection and Maintenance
Toilet Maintenance
Common toilet leaks:
Wax ring failure:
- Wax ring seals toilet to floor
- Deteriorates over time (5-10 years)
- Allows water seepage under toilet
- Warning sign: Water under toilet without visible leak
Supply line deterioration:
- Rubber hoses fail at 5-7 years
- Mesh-covered hoses slightly longer lifespan
- Failures create sudden water damage
- Prevention: Replace hoses proactively
Internal component wear:
- Flapper deterioration causes continuous running
- Wastes water and causes moisture
- Replace fill valve or flapper kit
- Relatively simple DIY repair
Toilet maintenance checklist:
- Monthly: Listen for running water when not in use
- Quarterly: Inspect water supply line for signs of leaking
- Every 5-7 years: Replace rubber supply lines
- Every 10 years: Replace wax ring and inspect floor beneath toilet
- Immediately: Address any visible leaking or water damage
Sink and Vanity Protection
Supply line inspection:
- Check under sink weekly for moisture or dripping
- Look for water stains on cabinets
- Smell for musty odors indicating hidden moisture
- Replace supply lines every 5-7 years proactively
Caulk maintenance:
- Seal where sink meets countertop
- Seal around faucet base
- Maintain caulk under vanity edges
Drawer and cabinet care:
- Install shelf lining with drain holes to catch leaks
- Use under-sink organizers that allow water flow
- Never block access to shut-off valves
- Keep cleaners and supplies away from potential leak sources
Flooring protection:
- Seal grout around vanity feet
- Use waterproof caulk where vanity meets floor
- Inspect sub-flooring if vanity leaks
Tub and Shower Enclosure Maintenance
Caulk renewal schedule:
- Check quarterly for deterioration
- Replace annually or every 1-2 years for high-use bathrooms
- Address separation immediately
- Use silicone specifically formulated for bathrooms
Tile inspection:
- Check for cracked tiles allowing water behind surface
- Replace broken tiles immediately
- Regrout if grout is missing or crumbling
- Inspect grout lines during cleaning
Drain functionality:
- Ensure drains clear quickly without backing up
- Clear hair and debris regularly
- Use drain strainers to prevent blockage
- Flush drains monthly with baking soda and vinegar
Tub/shower surround sealing:
- Some prefab surrounds require additional caulking
- Tile surrounds need grout sealing
- Solid surface surrounds need periodic resealing
- Fiberglass tubs/surrounds need special cleaners to prevent degradation
Flooring Protection Strategies
Bathroom Flooring Water Resistance
Most water-resistant options:
- Porcelain or ceramic tile (with sealed grout)
- Natural stone tile (requires sealing)
- Luxury vinyl plank (waterproof core)
- Polished concrete
- Specialty waterproof products
Avoid in bathrooms:
- Laminate flooring (water-penetrable)
- Unfinished hardwood
- Standard drywall or subfloors
- Non-sealed natural wood
Grout Sealing for Floors
High-traffic bathroom floors require:
- Penetrating sealer application every 1-3 years
- More frequent resealing than wall grout
- Tiles laid with proper slope toward drain
- Sub-flooring waterproofing for extra protection
Under-floor protection:
- Waterproof membrane under tile
- Proper slope for drainage
- Sealed subfloor substrate
- Weeping system to direct moisture away
Maintenance Protocol for Bathroom Floors
Daily care:
- Squeegee shower enclosure after use
- Wipe standing water
- Air dry wet areas
Weekly cleaning:
- Clean grout with appropriate cleaner
- Dry thoroughly
- Remove any standing water
Monthly inspection:
- Check for cracks in tile or grout
- Look for soft spots indicating water damage
- Smell for musty odors
- Check for color changes in grout
Your Weekly Bathroom Water Damage Prevention Checklist
Daily Actions
- Run exhaust fan during and 30 minutes after showers
- Squeegee shower enclosure after each use
- Wipe standing water from counters
- Close shower doors to contain moisture
- Leave bathroom door open to promote air circulation
Weekly Actions
- Inspect under-sink areas for leaks or moisture
- Clean exhaust fan grille
- Check caulk in shower/tub for deterioration
- Look for water stains on ceilings below (indicators of moisture)
- Test toilet for running water sounds
- Wipe condensation from mirrors and walls
- Inspect tile grout for cracks
- Check flooring under toilet base
Monthly Actions
- Comprehensive under-sink inspection
- Verify exhaust fan damper operates freely
- Test ventilation effectiveness (check for lingering humidity)
- Inspect all visible caulk seams
- Document any new staining or soft spots
- Check water supply lines for leaks
- Smell for mold or mildew indicating moisture problems
- Review tile and grout condition
Quarterly Actions
- Deep clean exhaust fan and ductwork
- Inspect tile grout thoroughly
- Evaluate caulk condition and schedule replacement if needed
- Check under vanity cabinets for water damage
- Inspect sub-flooring areas for moisture
- Test all shut-off valves
- Take photos of current condition for reference
- Plan any maintenance or replacement needed
Annual Actions
- Professional bathroom inspection if concerns exist
- Replace exhaust fan filter if applicable
- Grout sealing (if not done recently)
- Caulk replacement in high-moisture areas
- Full sub-floor inspection
- Replace water supply line hoses (if over 5 years old)
- Check ventilation ductwork exterior termination
- Plan preventative repairs for upcoming year
FAQ: Preventing Bathroom Water Damage
Q: How often should I recaulk my shower? A: Premium silicone caulk lasts 3-5 years in typical use, sometimes longer. High-use bathrooms may need annual caulking. When you see cracks, separation, or mold, it’s time to recaulk immediately.
Q: Can I just paint over deteriorated caulk? A: No. Paint doesn’t seal gaps or prevent water penetration. Replace caulk properly first, then paint if desired. Painting over failing caulk accelerates damage.
Q: What’s the best way to prevent mold in the bathroom? A: Mold requires moisture and poor ventilation. Prevent mold by running exhaust fans consistently, drying surfaces quickly, keeping humidity below 60%, and using mold-inhibiting caulk and grout sealer. Address any mold immediately with appropriate cleaner.
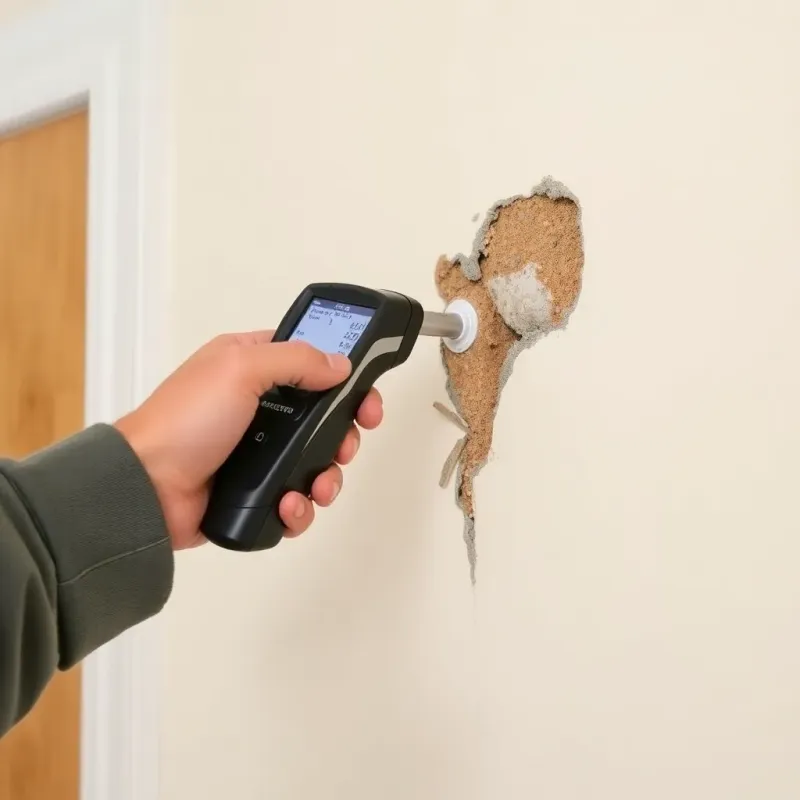
Q: How do I know if my bathroom has water damage inside walls? A: Signs include soft or spongy drywall, water stains spreading across surfaces, musty odors, paint bubbling or peeling, and sagging ceilings. Review our guide to signs of hidden water damage in walls and contact a water damage specialist for assessment.
Q: Should I install a moisture barrier under bathroom tile? A: Yes, absolutely. Waterproof membranes under tile are standard practice. They prevent water from reaching substructure and causing rot or mold. This is especially critical for shower surrounds.
Q: Can exhaust fan moisture drain to my attic? A: Never. This causes attic mold and wood rot. Exhaust must vent to outside via sealed ductwork. Attic venting is a common installation mistake that creates severe damage.
Conclusion
Bathroom water damage prevention depends on consistent maintenance and attention to vulnerable areas. Your weekly checklist ensures nothing is overlooked, while understanding proper caulking, ventilation, and fixture maintenance provides the knowledge to prevent problems.
The investment of 30 minutes weekly in bathroom inspection and maintenance prevents thousands of dollars in water damage repairs. Start your prevention routine today, follow the checklist religiously, and enjoy the peace of mind that comes with a properly maintained, dry bathroom.
Disclaimer: This article is for informational purposes only and does not constitute professional advice. Every water damage situation is unique. Always consult a licensed contractor or restoration professional for your specific situation. If you’re dealing with an emergency, contact your local restoration company immediately.