Introduction
Hardwood floors represent a significant investment in your home, adding beauty and value that lasts for decades—when properly maintained. However, water damage poses one of the greatest threats to hardwood flooring integrity. Unlike laminate or tile, solid wood flooring absorbs water readily, leading to warping, cupping, buckling, and potential structural compromise if not addressed quickly and correctly.
The good news is that many hardwood floor water damage situations are salvageable. The key lies in understanding the extent of damage, acting quickly, and following proper repair and restoration procedures. This comprehensive step-by-step guide will walk you through the entire process of assessing, drying, and repairing water-damaged hardwood floors.
Key Takeaway: The success of hardwood floor restoration depends almost entirely on speed — boards with moisture content below 20% after proper drying can usually be saved, while those above 25% typically need replacement.
Understanding Hardwood Floor Water Damage
Types of Water Damage
Water damage severity determines repair options. Understanding these classifications helps you assess your situation:
Minor Water Damage (Surface Moisture)
This includes moisture only in the finish layer or minimal wood penetration. Signs include:
- Slight discoloration
- Surface swelling that may disappear with drying
- No structural compromise
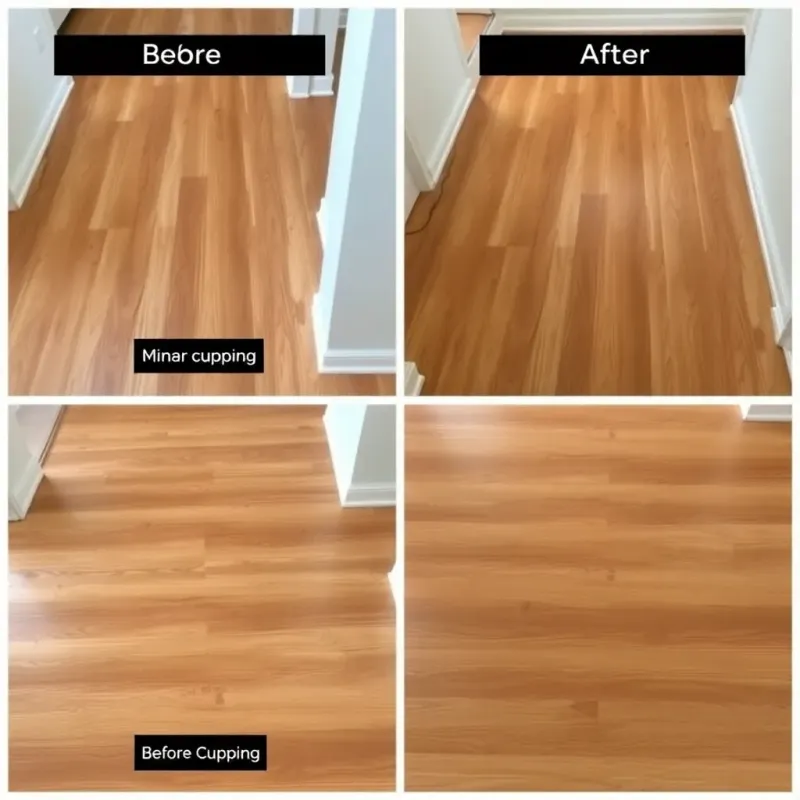
- Cupping less than 1/4 inch difference
Minor damage often requires only drying and refinishing.
Moderate Water Damage (Wood Penetration)
This occurs when water enters the wood but hasn’t compromised structural integrity. Characteristics include:
- Visible warping or cupping
- Discoloration throughout board thickness
- Slight buckling or movement
- Affected boards feel soft but not rotted
- Damage visible but contained to specific areas
Moderate damage typically requires drying, replacement of severely affected boards, and refinishing.
Severe Water Damage (Structural Compromise)
This represents the most serious situation. Indicators include:
- Widespread buckling and movement
- Soft or spongy wood when pressed
- Odor of mold or decay
- Obvious structural movement
- Multiple boards or large areas affected
- Subfloor damage visible
Severe damage often requires complete floor replacement.
Step 1: Assess the Damage Thoroughly
Identify the Water Source
Before beginning repairs, identify and fix the water source. Continuing leaks make restoration impossible. Common sources include:
- Burst or leaking pipes
- Roof leaks
- Basement seepage or flooding
- Plumbing failures
- HVAC condensation
- Exterior water intrusion
- Appliance failures (dishwasher, washing machine)
Address the source first. Without eliminating ongoing water exposure, hardwood floor restoration will fail.
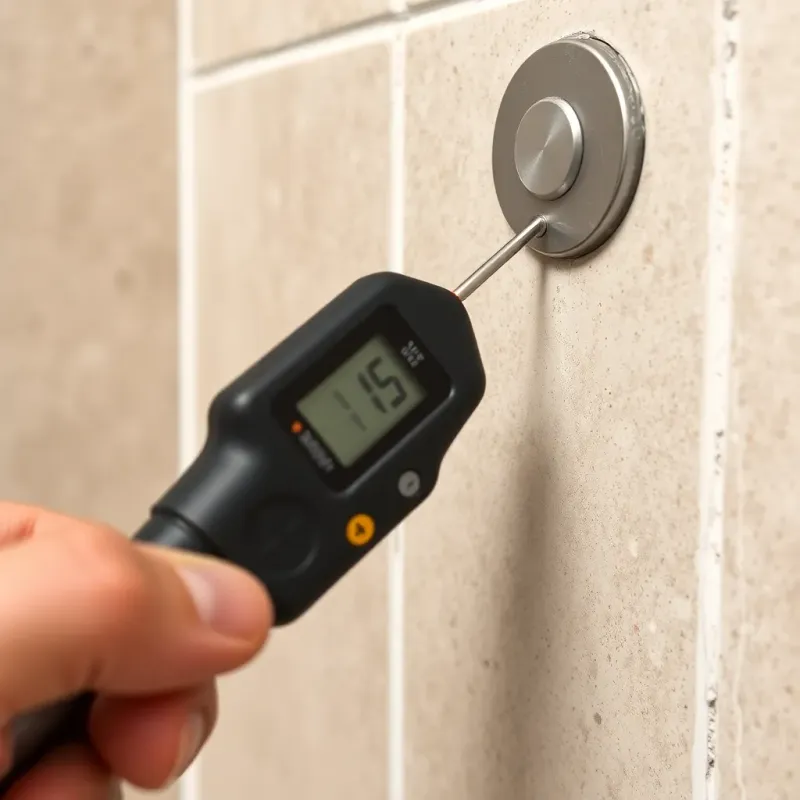
Measure Moisture Content
Professional moisture meters reveal how deeply water has penetrated wood. Measurements help determine:
- Whether drying alone can salvage the floor
- Which boards must be replaced
- The appropriate drying timeline
Moisture readings above 20% indicate significant water penetration. Readings above 25% typically mean boards cannot be saved.
Document Affected Areas
Map out the full extent of damage:
- Measure and photograph affected areas
- Identify all warped, cupped, or discolored boards
- Check under and around the affected area for hidden moisture
- Note any visible mold or mildew growth
- Test adjoining areas for moisture migration
This documentation is essential for insurance claims — follow our guide on how to document water damage for insurance — and helps contractors understand the full scope of restoration needed.
Step 2: Extract Standing Water and Begin Drying
Remove Standing Water Immediately
Any standing water must be removed within 24-48 hours to prevent permanent structural damage:
- Use wet vacuums with HEPA filtration to extract standing water
- Mop and dry remaining surface moisture with towels
- Increase air circulation by opening windows and doors (if weather permits)
- Deploy dehumidifiers to begin removing ambient moisture
- Set up fans to promote air movement across affected areas
Speed is critical. Every hour water sits on hardwood increases damage risk.
Implement Professional Drying
Professional restoration companies use industrial equipment that homeowner tools cannot match:
Dehumidifiers
- Remove moisture from air, allowing wood to release water
- Commercial units remove 20+ gallons daily vs. consumer units removing 5-10 gallons
- Proper placement maximizes effectiveness
Air Movers
- Create air circulation across floor surface
- Promote evaporation from wood surface
- Prevent stagnant moisture pockets
Moisture Monitoring
- Daily readings track drying progress
- Equipment adjustments based on readings
- Professional assessment determines when drying is complete
Establish Drying Timeline
Drying hardwood floors properly takes time—typically 5-14 days depending on:
- Damage extent
- Wood species and thickness
- Room size and ventilation
- Humidity levels
- Subfloor condition
Rushing drying or stopping prematurely leads to residual moisture, mold growth, and delayed damage manifestation. For detailed techniques, see our guide on how to dry out a room after water damage.
Pro tip: Do not make the repair-or-replace decision during the first week. I have seen many homeowners rip out floors that would have been perfectly salvageable because they panicked at the initial appearance. Let the drying process complete fully before assessing which boards truly need replacement.
Step 3: Assess Which Boards Can Be Saved
Evaluate Individual Board Condition
Not all boards showing water damage must be replaced. Assessment criteria include:
Boards Worth Saving:
- Moisture content below 20% after drying
- Color changes that aren’t permanent staining
- Mild cupping that may flatten with proper drying
- No soft spots or structural compromise
- No mold or fungal growth
Boards Requiring Replacement:
- Moisture content above 20-25% after drying
- Soft or spongy wood indicating rot
- Deep staining or permanent discoloration
- Severe cupping, buckling, or warping
- Any visible mold or mildew growth
- Structural integrity compromise
Subfloor Inspection
Water damage assessment must include subfloor inspection. Signs of subfloor damage requiring replacement include:
- Soft or rotted subfloor material
- High moisture readings in subfloor
- Visible mold or mildew growth
- Structural movement or shifting
- Water staining on subfloor
Damaged subfloors must be replaced before hardwood reinstallation. Attempting repairs over compromised subfloors leads to future failures.
Step 4: Remove and Replace Damaged Boards
Remove Damaged Flooring
Removing water-damaged hardwood boards requires care to avoid damaging surrounding boards:
- Use a circular saw to cut along board length near damaged boards
- Create a starting point by carefully prying up a section
- Remove one board at a time working toward undamaged flooring
- Clean out remaining nails and debris from subfloor
- Inspect subfloor condition as boards are removed
Prepare Replacement Boards
Replacement boards should match original flooring in:
- Wood species
- Width and thickness
- Finish color and sheen
- Grade (clear, select, etc.)
- Moisture content (acclimate before installation)
Allow replacement boards to acclimate to the home’s humidity for 24-48 hours before installation. This prevents new movement after installation.
Install Replacement Boards
Professional hardwood installation requires proper technique:
- Test fit boards before nailing to ensure proper alignment
- Use blind nailing technique for tongue-and-groove boards
- Maintain appropriate spacing for expansion and contraction
- Secure to subfloor with flooring nails or screws
- Fill nail holes before finishing
Improper installation creates visible gaps, movement, and premature failure.
Step 5: Sand and Refinish the Floor
Prepare for Sanding
Before sanding, ensure:
- All moisture remediation is complete
- New boards are fully acclimated
- Subfloor repairs are finished
- Protective coverings protect furniture and walls
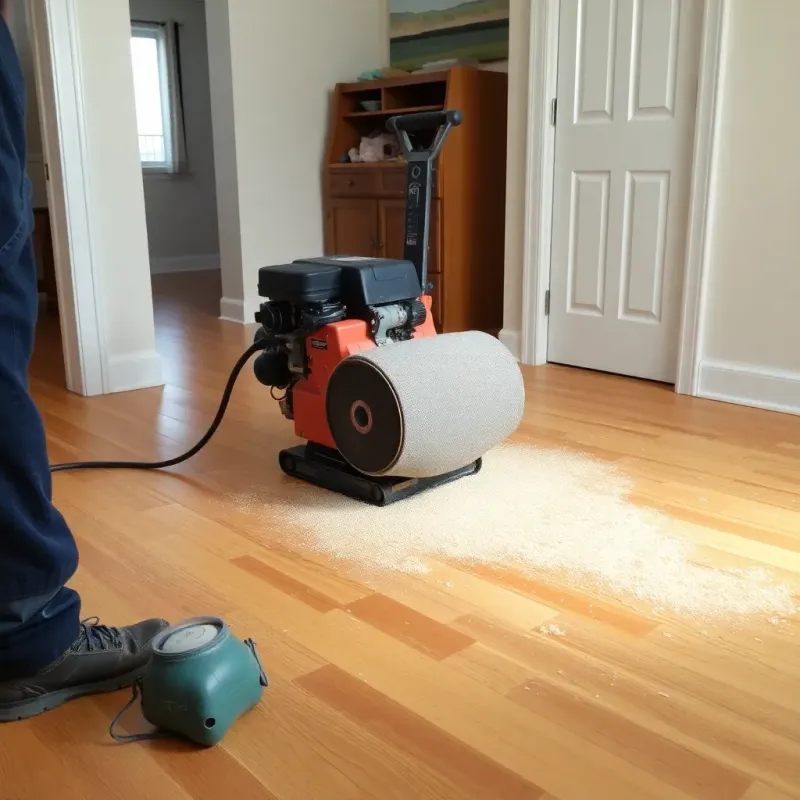
Sanding Process
Professional sanding removes water stains and prepares wood for finishing:
- Coarse sanding (36-60 grit) removes finish and surface damage
- Medium sanding (80-100 grit) smooths the surface
- Fine sanding (120-150 grit) creates smooth finish-ready surface
- Edge sanding addresses areas drum sander cannot reach
- Vacuuming and tack cloth removes all sanding dust
Dust removal is critical—any dust remaining will imperfect the final finish.
Staining (If Needed)
If water staining remains visible after sanding, staining may be necessary:
- Choose stain color matching original flooring
- Apply stain evenly across entire floor
- Match patches to surrounding boards
- Allow proper drying time before finishing
- Multiple coats may be needed for consistent color
Finishing Application
Proper finish protects against future water damage:
Polyurethane Finishes
- Provides durable protective layer
- Available in matte, satin, and gloss sheens
- Oil-based polyurethane offers traditional appearance
- Water-based polyurethane dries faster, clearer finish
- Multiple coats (typically 2-3) necessary for durability
Application Process
- Apply first coat of finish
- Allow proper drying per product instructions
- Light sanding between coats (220+ grit)
- Apply subsequent coats
- Final curing period before foot traffic
Prevention Strategies for Future Water Damage
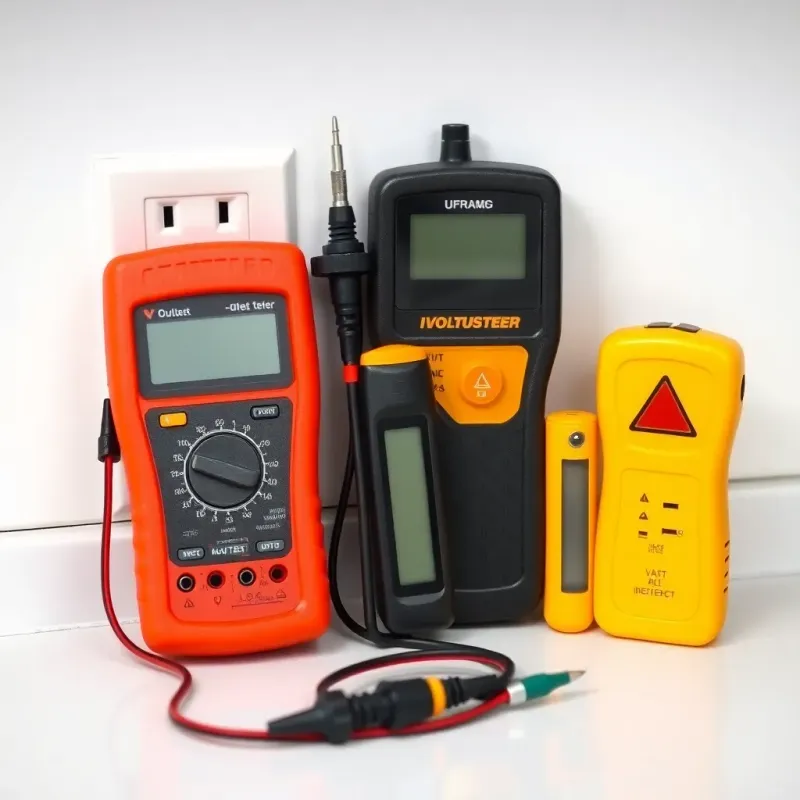
Address Moisture Sources
Prevent future water damage by:
- Fixing all plumbing leaks immediately
- Installing water leak detection systems
- Maintaining roof and flashing
- Grading soil away from foundation
- Installing proper drainage systems
- Insulating pipes to prevent condensation
Humidity Control
Maintain indoor humidity between 30-50% to prevent wood movement:
- Use dehumidifiers in damp areas
- Install bathroom and kitchen exhaust fans
- Ensure proper HVAC operation
- Monitor humidity levels seasonally
Floor Protection
Protect hardwood floors from spills and moisture:
- Use mats in high-risk areas (entryways, kitchens)
- Clean spills immediately
- Avoid using excessive water during cleaning
- Use pH-neutral hardwood cleaners
- Maintain proper ventilation in all areas
When to Call Professional Help
While some water damage can be managed with DIY efforts, professional restoration is recommended when:
- Water damage extends beyond small, isolated areas
- Standing water was present for more than 24 hours
- Mold or mildew growth is visible
- Subfloor damage is suspected
- Moisture readings exceed 20%
- You’re uncertain about damage extent
- Insurance claim is involved
Professional restoration companies have equipment, expertise, and insurance to handle complex water damage properly.
FAQ: Hardwood Floor Water Damage Repair
Q: Can hardwood floors be saved after water damage? A: Many hardwood floor water damage situations are salvageable if addressed quickly. Minor to moderate damage can often be corrected through proper drying, board replacement where needed, and refinishing. Severe damage may require complete floor replacement.
Q: How long does hardwood floor restoration take? A: Total timeline varies based on damage extent. Drying typically takes 5-14 days, board replacement adds 2-5 days, and sanding/finishing requires 3-7 days depending on floor size. Full restoration ranges from 2-4 weeks including curing time.
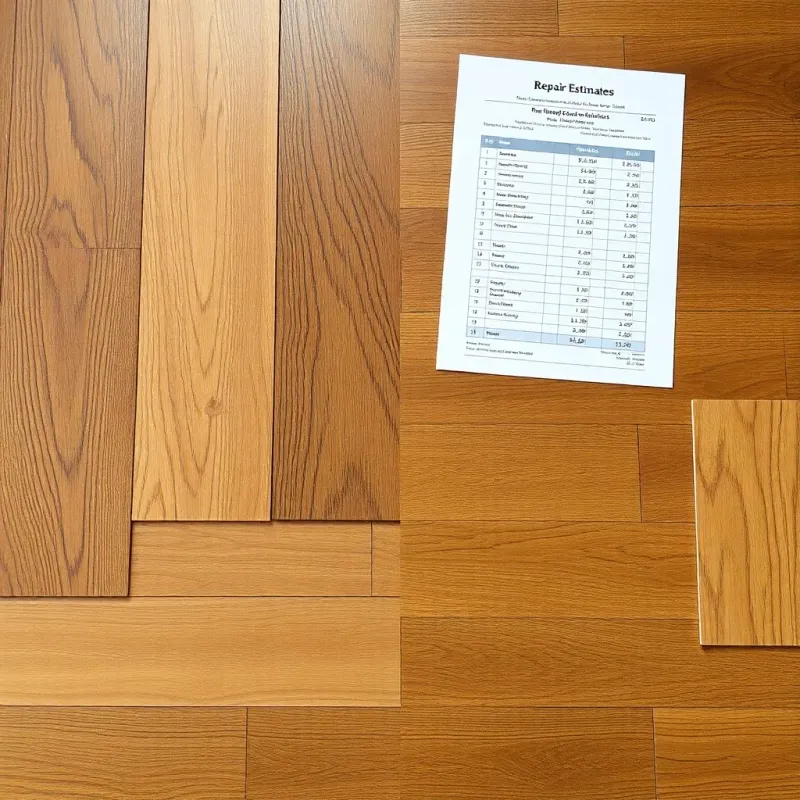
Q: How much does hardwood floor water damage repair cost? A: Costs vary dramatically based on damage extent and repair needed. See our complete hardwood floor water damage repair cost breakdown for detailed pricing. Minor repairs may cost $500-2,000, while moderate damage ranges from $2,000-8,000. Severe damage requiring floor replacement can exceed $10,000+. Get professional estimates for accurate pricing.
Q: Will my homeowner’s insurance cover hardwood floor water damage? A: Most policies cover sudden, accidental water damage like burst pipes or roof leaks. However, gradual leaks, flooding, and maintenance-related issues typically aren’t covered. Review your policy and contact your insurer to confirm coverage.
Q: What’s the difference between cupping and buckling? A: Cupping occurs when floor boards curve upward at edges while remaining relatively flat in the center. Buckling represents more severe damage where boards warp significantly. Mild cupping may flatten with proper drying, while buckling often requires board replacement.
Conclusion
Water-damaged hardwood floors can often be restored to their original beauty through proper assessment, thorough drying, strategic board replacement, and professional refinishing. The key to successful restoration is understanding the damage extent, acting quickly to stop water intrusion, and following proper repair procedures.
By following this step-by-step guide, you’ll be equipped to manage hardwood floor water damage effectively. For extensive damage or situations where you’re uncertain, don’t hesitate to consult professional water damage restoration specialists. Your hardwood floors deserve expert care to ensure they remain a beautiful, valuable part of your home for decades to come.
Disclaimer: This article is for informational purposes only and does not constitute professional advice. Every water damage situation is unique. Always consult a licensed contractor or restoration professional for your specific situation. If you’re dealing with an emergency, contact your local restoration company immediately.